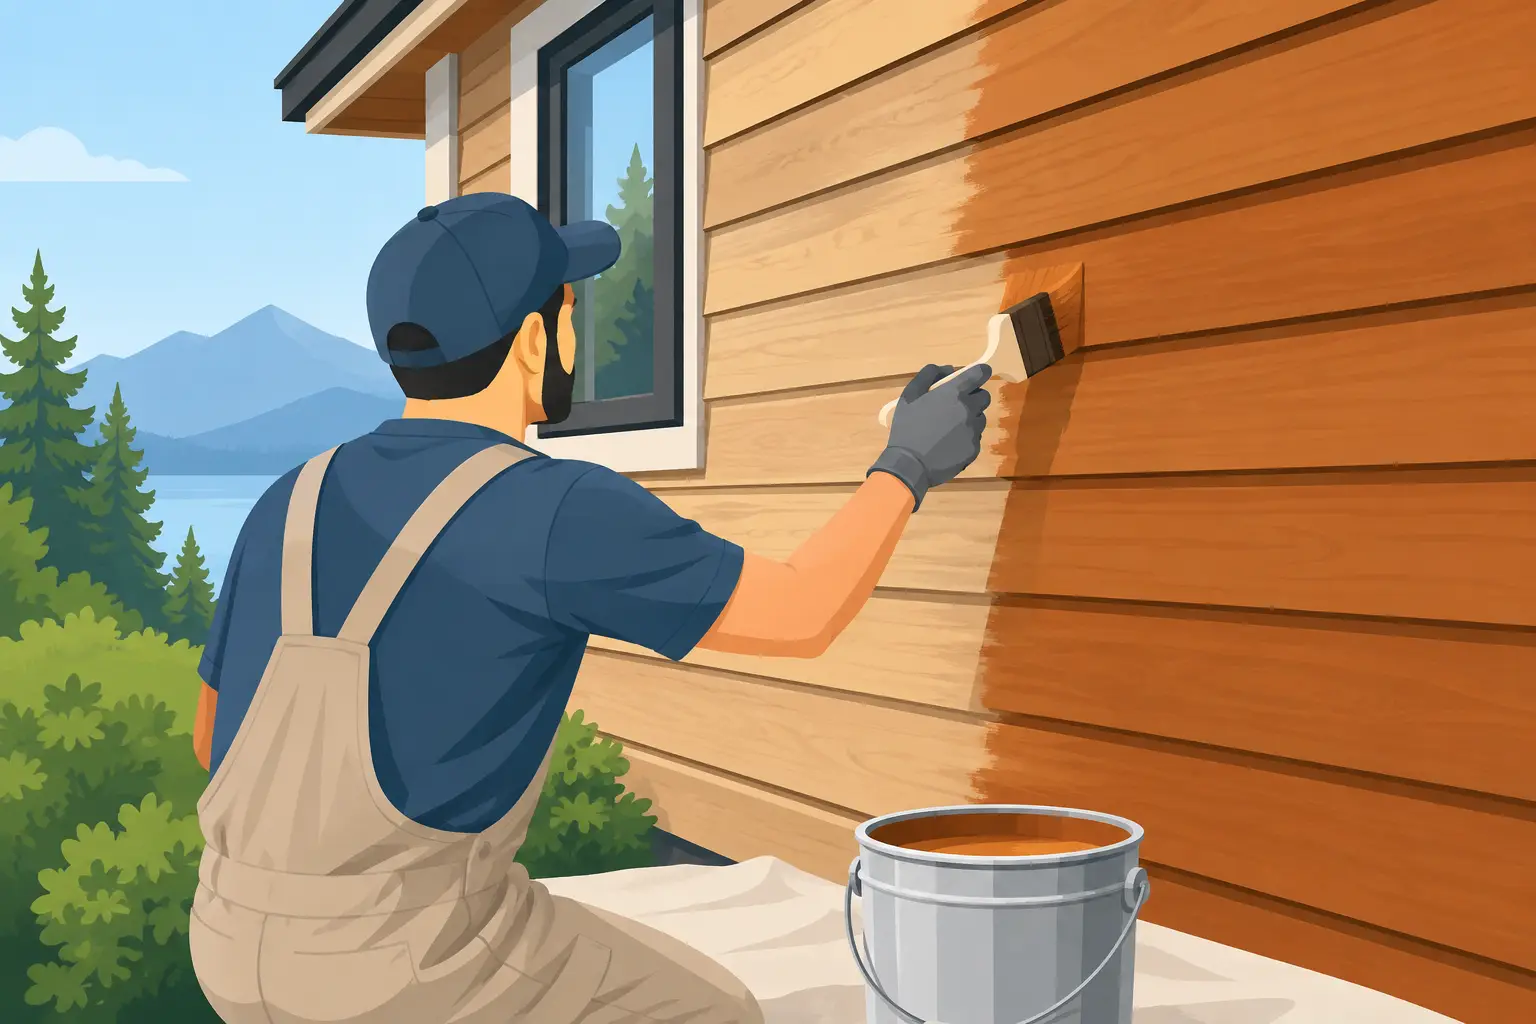
Fresh paint can make cedar siding look exceptionally refined, but cedar is not a forgiving surface. Its natural oils, tannins, textured grain, and seasonal movement can push a poorly planned coating system into early peeling, staining, or uneven sheen. To paint cedar siding well, the work begins long before the first finish coat.
For a home where exterior details matter, paint is not simply a color decision. It is a protective finish system. The quality of the cleaning, repairs, priming, and application determines whether the siding reads as crisp and consistent or begins to fail within a few seasons.
Assess the Cedar Before Choosing Paint
Cedar can be painted successfully, provided the siding is dry, sound, and properly prepared. Start by checking for cupping boards, open knots, split ends, failed caulking, loose fasteners, and areas where water repeatedly reaches the wall. Pay close attention to bottom edges, trim intersections, window heads, and the shaded sides of the home. These are common failure points.
Existing paint also needs an honest assessment. If the coating is mostly intact, firmly bonded, and only lightly weathered, repainting may be straightforward. If paint is peeling in broad sheets, the issue is usually deeper than age. Moisture behind the siding, inadequate primer, poor surface cleaning, or painting over unstable old layers may be involved.
Cedar should not be coated while it is wet from rain, heavy dew, or recent washing. Even when the face appears dry, moisture can remain in the wood. Painting damp cedar can trap that moisture under the finish, creating blisters and premature adhesion failure. A professional crew plans the work around both the forecast and the actual condition of the substrate.
Surface Preparation Determines How Long Paint Lasts
Preparation is the part homeowners rarely see after the job is complete, yet it has the greatest effect on service life. Premium paint cannot correct a contaminated, glossy, loose, or damp surface.
The siding should first be cleaned of dirt, mildew, chalking, pollen, and airborne residue. Gentle washing is usually more appropriate than aggressive pressure washing. High pressure can force water behind laps, roughen soft cedar fibers, and leave a damaged surface that requires more sanding and drying time. Cleaning solutions should be appropriate for painted wood and thoroughly rinsed away.
After the siding has dried, loose paint must be scraped back to a firm edge. Feather sanding these transitions helps prevent ridges from showing through the final coats. Glossy areas should be dulled to create a mechanical bond, while exposed bare wood needs to be sanded smooth enough to receive primer evenly.
Repairs come next. Replace boards that are rotted, deeply split, or too deteriorated to hold a coating. Minor checks and holes can be repaired with an exterior-grade filler, but filler is not a substitute for sound wood. Fasteners should be set correctly, and failed joints should be addressed before caulking begins.
Caulk is useful at controlled gaps around trim, penetrations, and certain joints. It should not be used to bridge areas designed to drain or move freely. Over-caulking cedar siding can trap water and create an artificial failure point. A disciplined exterior paint job respects how the assembly sheds water.
Use the Right Primer for Cedar
Primer is not optional on bare cedar. Cedar contains tannins that can migrate through standard coatings and appear as brown or reddish stains, particularly around knots, end grain, and weathered areas. A stain-blocking exterior primer is required to control this bleed-through and create a stable base for the finish paint.
Oil-based and shellac-based primers have long been trusted for difficult tannin blocking, while high-quality waterborne stain-blocking primers may be suitable depending on the condition of the siding and the coating system being used. The correct selection depends on how much bare wood is exposed, whether staining is already visible, local weather conditions, and the manufacturer's compatibility requirements.
Spot priming can be appropriate when only small repairs or scraped areas expose bare cedar. However, a full prime coat is often the better decision when the existing finish is heavily weathered, porous, unevenly repaired, or showing widespread tannin staining. It creates a more consistent surface, which matters when applying deeper colors or finishes with a low sheen.
End grain deserves particular attention. Board ends absorb moisture more readily than the face of the siding. Priming exposed end grain before installation or during repair work provides an additional layer of protection where cedar is most vulnerable.
Select an Exterior Paint System, Not Just a Color
For most painted cedar siding, a premium exterior acrylic paint is the practical choice. Quality acrylics remain flexible through seasonal movement, resist ultraviolet exposure, and allow the siding to release a limited amount of vapor. They also provide strong color retention when applied at the recommended film thickness.
Sheen affects both appearance and maintenance. A flat or low-luster finish can complement cedar's natural texture and disguise minor surface irregularities. Satin provides a slightly cleaner, more defined appearance and is often easier to wash, but it may reveal patching, lap marks, and uneven preparation more readily. High-gloss finishes are generally reserved for trim rather than broad siding fields.
Color selection also has technical consequences. Very dark colors absorb more heat, which can increase movement in wood boards and place added stress on the coating. That does not mean dark colors are off limits, but they require a sound substrate, proper primer, careful application, and realistic maintenance expectations. On older cedar siding with visible movement and repairs, a mid-tone color is often the more durable choice.
A paint system should be selected as a complete sequence: cleaner, repair materials, primer, caulk where appropriate, and finish coats. Combining products without checking compatibility can compromise adhesion. The label matters, but so does the judgment used to match products to the actual condition of the house.
Apply Paint Cedar Siding With Controlled Technique
When it is time to paint cedar siding, application technique determines whether the finish looks uniform from the curb and holds up at close range. The work should be completed within the paint manufacturer's temperature, humidity, and direct-sun exposure guidelines. Painting a hot wall in direct sun can cause the coating to dry too quickly, reducing flow and increasing the risk of lap marks.
Brush and roller application remains an excellent method for cedar because it works paint into the grain and edges. Spraying can be efficient on larger elevations, but it should be paired with back-brushing or back-rolling when the siding profile and coating manufacturer call for it. The objective is not speed. It is even coverage, proper film build, and complete coverage along board edges, laps, and trim transitions.
Two finish coats are typically the standard for a premium result, especially over primer, repaired areas, or a major color change. Each coat needs adequate dry time before the next is applied. Rushing recoats can trap solvents or moisture, impair adhesion, and leave the finish vulnerable before it has properly cured.
Hand-cut lines at windows, corner boards, soffits, and fascia make a significant difference on an exterior elevation. Tape has its place, but it cannot replace a painter's control at critical details. A clean job site matters as well. Landscaping, masonry, windows, and adjacent surfaces should be protected throughout the work, not cleaned up as an afterthought.
Expect Maintenance, Not Permanent Paint
Even an expertly applied coating system requires inspection and upkeep. Cedar moves with humidity and temperature changes, and exterior exposure is never uniform. South- and west-facing walls, areas beneath rooflines, and sections near mature landscaping often weather differently.
A yearly walk-around is usually enough to catch small issues before they become extensive repairs. Look for cracked caulk, exposed end grain, peeling at horizontal edges, mildew, and impact damage. Washing away surface grime and touching up isolated failure points can extend the life of the larger paint system.
Repainting schedules vary widely. Exposure, color, building design, prior preparation, and the quality of the original coating all matter. A protected wall may remain in excellent condition for years while a sun-heavy elevation needs attention much sooner. The right approach is to repaint based on condition, not a fixed calendar date.
For cedar siding, lasting results come from respecting the material rather than trying to cover its weaknesses. A careful inspection, meticulous prep, stain-blocking primer, and properly applied finish coats give the home the clean, durable exterior it deserves.