A freshly painted room can still look unfinished if the joints are split, nail holes telegraph through the coating, or trim lines show uneven gaps. The practical question of caulk versus filler comes up during nearly every repaint because both products are used in prep, but they solve entirely different problems. Choosing the wrong one can lead to cracked seams, visible repairs, and a finish that loses its clean appearance far too soon.
For a premium result, repair materials must match the surface and the type of movement expected at that location. Paint is the final finish system, not a material designed to hide failed prep.
Caulk Versus Filler: The Working Difference
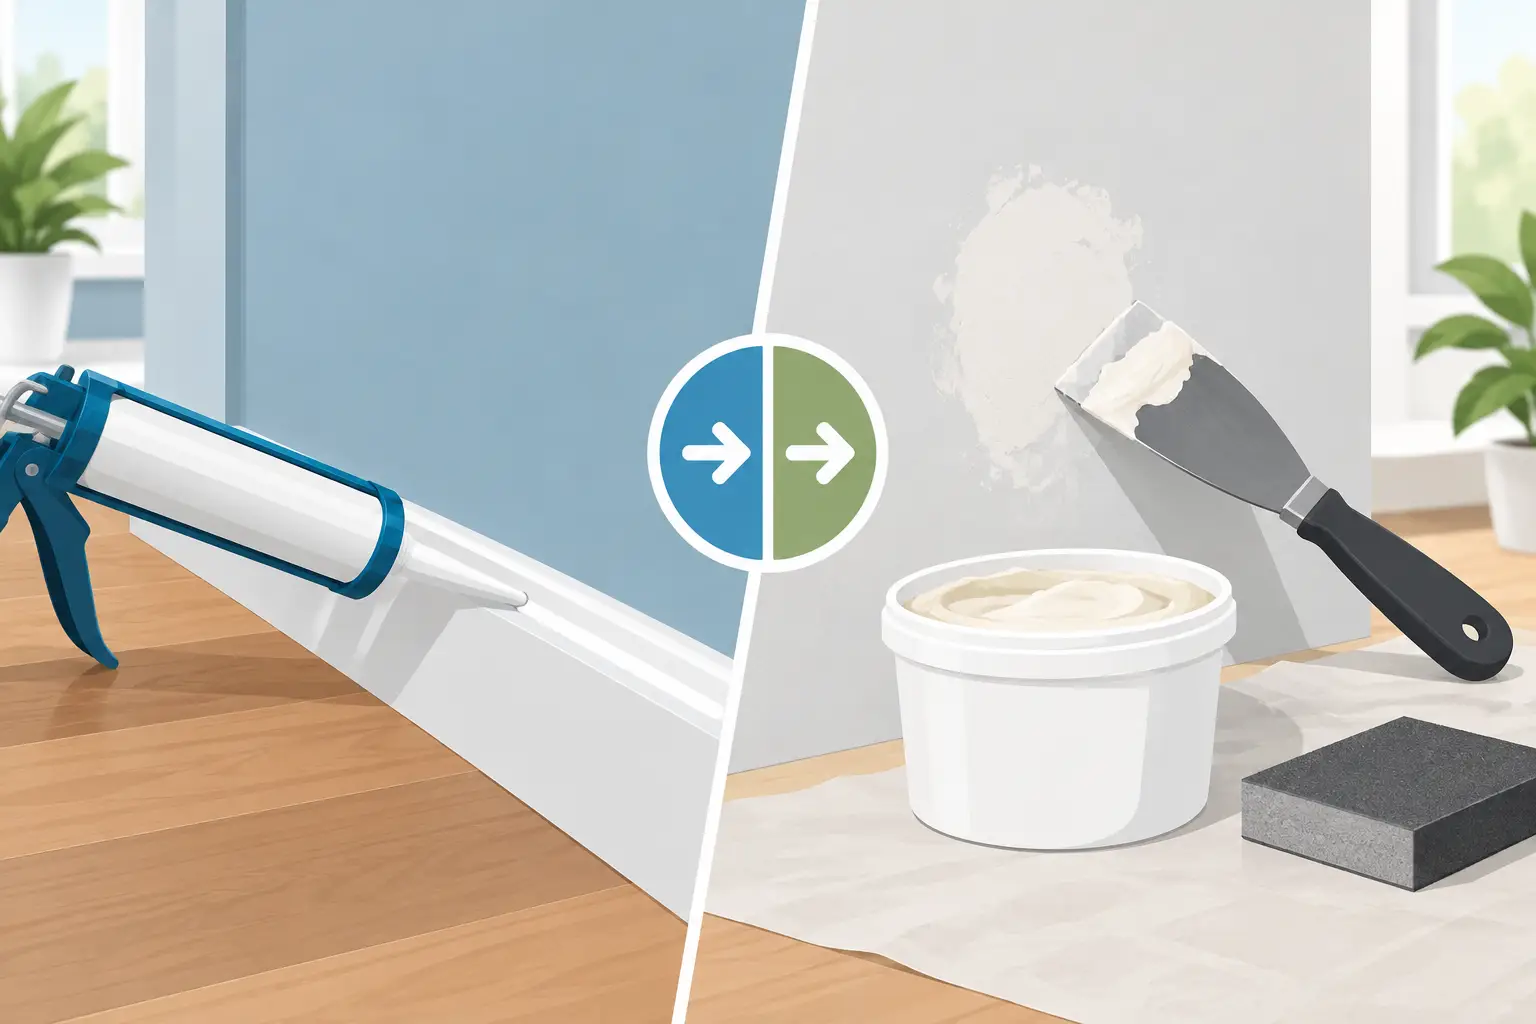
Caulk is made for joints. It remains flexible after curing, allowing it to move slightly as adjacent materials expand, contract, and shift. A paintable acrylic or siliconized acrylic caulk is commonly used where baseboard meets wall, casing meets drywall, crown molding meets the ceiling, or two trim components form a small seam.
Filler is made to rebuild a damaged or recessed surface. It cures hard and is sanded flush before primer and paint. Painters use filler for nail holes, dents, small chips, shallow cracks in stable drywall, and minor defects in woodwork.
The distinction matters because a wall, a piece of trim, and a joint between them do not behave the same way. A baseboard-to-wall joint is likely to move seasonally. A nail hole in a solid baseboard should not. Caulking the nail hole leaves a soft spot that can shrink or show through the paint. Filling a moving joint creates a rigid bridge that is likely to crack.
A useful rule is simple: use caulk where two separate surfaces meet; use filler where one surface has a hole, depression, or localized defect.
Where Caulk Belongs
Interior trim is where good caulking has the greatest visual payoff. Fine gaps along door casing, window trim, crown molding, and baseboard can cast shadows that remain visible even under several coats of premium paint. A neat, properly sized caulk bead produces the hand-cut, finished line homeowners expect in a well-executed room.
Caulk is also appropriate at small gaps between built-in components, provided the joint is intended to be painted and the materials are compatible. On painted cabinetry or millwork, this work must be especially controlled. Excess caulk can round over crisp profiles, contaminate corners, and compromise the factory-smooth result the finish is meant to achieve.
For most paint projects, a high-quality paintable acrylic latex caulk is the correct choice. Siliconized acrylic versions can offer improved flexibility and adhesion while remaining paintable. Pure silicone is generally a poor choice for painted interior surfaces because paint does not adhere reliably to it. It has a place in wet areas and certain exterior applications, but it should not be treated as a universal gap-filler.
Caulk has limits. It is not intended to span wide, deep, or structurally active openings. A large gap may need backing material, trim adjustment, carpentry correction, or a different sealant specified for the exposure. Applying a thick bead over a substantial void is rarely a durable repair, even if it appears acceptable on the day the project is completed.
Exterior joints require more judgment
Exterior prep is less forgiving because moisture, ultraviolet exposure, and broad temperature swings put greater stress on coatings and sealants. Caulk may be used around exterior trim details, siding interfaces, and openings where the assembly calls for a paintable sealant. However, not every exterior gap should be sealed.
Certain cladding systems require drainage and ventilation paths. Closing those paths with caulk can trap moisture behind the finish and create a larger failure later. Failed exterior caulk should be cut out where practical, the joint cleaned and dried, and a suitable exterior-rated replacement installed. Painting over cracked or detached caulk does not restore the seal.
Where Filler Belongs
Filler corrects imperfections that need to disappear under paint. In drywall, that often means small dents, picture-hanging holes, minor surface gouges, and stable hairline cracks after the cause has been addressed. In wood trim, it means nail holes, small chips, open grain, and shallow installation damage.
The product should suit the substrate. Lightweight spackle can work for very small wall repairs, but it is not the best answer for every defect. Drywall compound feathers well over broader shallow repairs. Setting-type compound can be useful where added hardness and a more controlled cure are needed. Deeper damage may require multiple applications rather than one heavy layer that shrinks, cracks, or remains soft beneath the surface.
For painted woodwork, a paintable wood filler or professional-grade patching compound is often the better choice. The repair should be pressed firmly into the void, allowed to cure fully, sanded flush, and spot-primed as required. Skipping primer over filler can create flashing, where repaired areas absorb paint differently and become visible under direct or angled light.
On cabinets, the standard is higher. Cabinet doors and face frames are viewed at close range, often under under-cabinet lighting or strong natural light. A patch that feels smooth by hand may still show once a satin or semi-gloss coating is applied. Careful sanding, priming, and inspection from several angles are necessary before the finish coats begin.
Why the Order of Prep Matters
Correct material selection is only part of the process. The sequence also affects the final result. Most stable surface repairs are filled first, sanded smooth, and dusted thoroughly. Caulk is typically applied after sanding so it is not damaged by abrasive work and so the adjoining surfaces are clean enough to accept it.
Once caulk is applied, it should be tooled immediately into a consistent, narrow profile. A bead that is too heavy will look swollen after paint. A bead that is too thin may split as the joint moves. Skilled prep is not about applying more material. It is about placing the right amount in the right location and removing the excess before it hardens.
Dry times also matter. Rushing from filler to sanding or from caulk to paint can lead to shrinkage, cracking, poor adhesion, or surface texture changes. Product labels provide minimum dry times, but site conditions can alter them. Cool temperatures, high humidity, and limited airflow slow curing. A disciplined crew plans prep around those conditions instead of forcing the coating schedule.
Common Repairs That Fail Under Paint
Several shortcuts consistently show up after a repaint. The first is using caulk to hide a broad drywall crack. If the crack reflects movement in framing, drywall attachment, or a settling condition, caulk may flex for a period but is not a complete repair. The cause should be evaluated, the area stabilized if necessary, and the repair built with the appropriate drywall method.
Another common issue is filling the joint where crown molding meets the ceiling with a rigid patching compound. The repair may look clean initially, then form a sharp crack as the building moves through seasonal changes. This is a caulk joint, not a filler repair.
Overfilling wood grain and nail holes can also create problems. Excess filler around a nail hole leaves a raised halo that becomes obvious when light grazes across painted trim. The better approach is to fill precisely, sand with control, and inspect before primer. Preparation should improve the profile of the surface, not alter it.
Finally, applying paint directly over dusty filler or uncured caulk undermines otherwise good work. Adhesion and uniform sheen depend on clean, dry, sound surfaces. This is why meticulous prep often takes longer than homeowners expect, particularly in older homes with multiple paint layers, aged trim, and prior repairs of inconsistent quality.
A Finish Standard, Not a Product Choice
Caulk and filler are inexpensive materials, but their placement has an outsized effect on how a finished room reads. Under soft evening light, a clean caulk line keeps trim intentional. In morning sunlight, a properly feathered wall repair stays invisible. On a cabinet door, correctly filled hardware holes allow the coating to look continuous rather than patched.
At Whitmore Painting, surface preparation is treated as part of the finish system, not a preliminary task to rush through. The right material, proper curing time, clean sanding, and close inspection create the conditions for paint to perform as intended.
Before any room is painted, look closely at each defect and ask one practical question: is this a moving joint or a damaged surface? That answer usually determines whether caulk or filler belongs there, and it is often the difference between a paint job that merely looks new and one that continues to look finished.