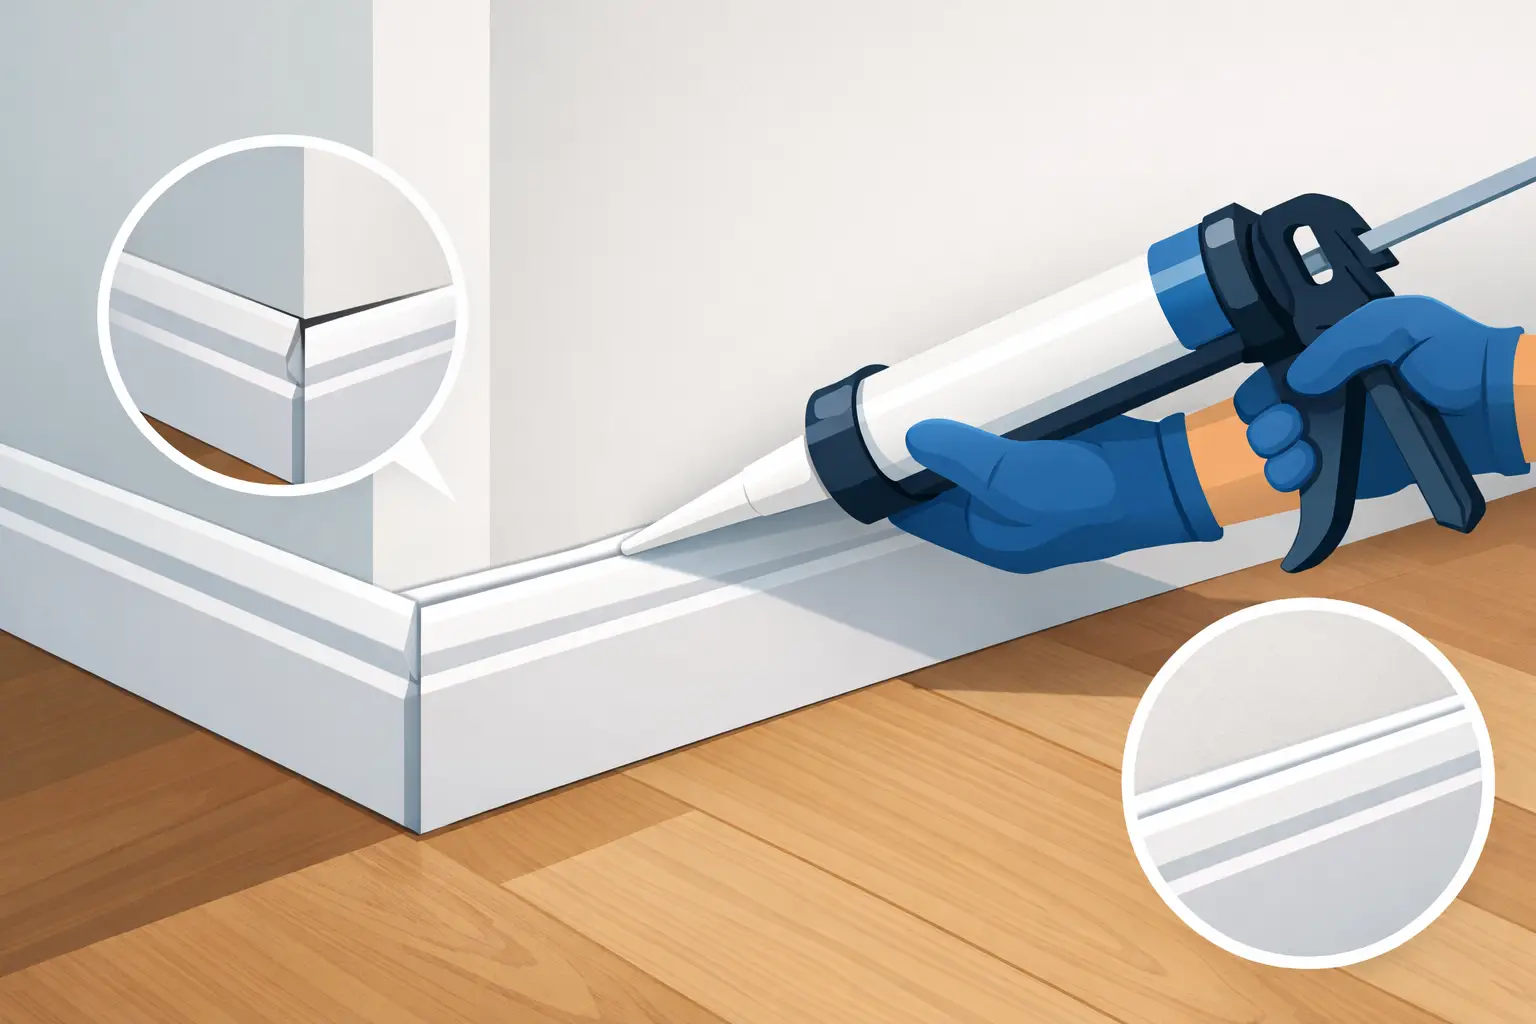
A painted room can have excellent color, sharp cut lines, and quality millwork, yet still look unfinished if the trim-to-wall joints are open. Learning how to caulk trim gaps is less about applying more material and more about controlling the joint: choosing the proper caulk, preparing the surfaces, and leaving a bead that disappears after paint.
For finish work, caulk is not a substitute for loose trim, damaged drywall, or poor installation. It is the final transition between stable surfaces. Done correctly, it creates the continuous, hand-finished appearance expected in a well-executed interior repaint.
Start by Identifying the Type of Gap
Not every opening around trim should be caulked. The most common candidates are narrow gaps where baseboard, door casing, window casing, crown molding, or panel molding meets a painted wall. These gaps often appear because walls are not perfectly flat, framing moves slightly over time, or trim was installed over uneven drywall.
A narrow, consistent gap is generally a good caulking joint. As a practical rule, gaps up to about 1/4 inch can often be filled with a quality paintable caulk, provided the trim is secure and the joint is not subject to significant movement.
Wider gaps require more judgment. If the opening is deep or exceeds roughly 1/4 inch, install foam backer rod first so the caulk is not filling an oversized void. Backer rod controls the depth of the joint, reduces material use, and gives the caulk a better shape for movement.
Do not caulk a gap caused by trim that has pulled away from the wall. Refasten the piece first, fill nail holes, and then caulk the final hairline joint. Likewise, do not use paintable caulk between dissimilar surfaces that need to move independently, such as certain flooring transitions. Those areas may require a flexible sealant, a shoe molding detail, or a different repair altogether.
Choose a Caulk That Belongs in Finish Work
For most interior trim gaps, a premium paintable acrylic latex caulk is the correct choice. It applies cleanly, can be tooled with water, dries predictably, and accepts paint without the glossy, rubbery look associated with silicone.
Silicone is highly water-resistant, but standard silicone is generally not paintable. It has a place in wet areas such as tubs, showers, and sinks, not along painted baseboard or casing. Applying silicone to interior trim creates a problem for the painter who follows: paint can bead, separate, or fail to adhere at the joint.
For trim in a bathroom, laundry room, or other humid space, use a high-quality paintable kitchen-and-bath acrylic caulk. The label should specifically confirm paintability and mildew resistance. For premium interior work, avoid the lowest-cost contractor-grade tubes. They often shrink more, drag during tooling, and can crack sooner at joints that see seasonal movement.
The color of the caulk matters less than its paintability when the joint will be painted. White is standard for white trim, but clear caulk is usually not appropriate for painted trim work because it is harder to inspect and may not take paint evenly.
Check the Paint and Caulk Compatibility
Read the caulk label before beginning. Some fast-dry formulas can be painted in 30 minutes, while others need several hours or longer before coating. Painting too early can trap moisture, cause flashing, or pull the fresh bead during brushing.
When a room is being fully repainted, the cleanest sequence is usually to repair the wall, prepare and prime the trim as needed, caulk the trim-to-wall joints, then apply finish coats with controlled brushwork. The exact order can vary by substrate and coating system, but the caulk must be fully cured before final paint is applied.
How to Caulk Trim Gaps Without Leaving a Heavy Bead
The best caulk line is usually the one no one notices. A large bead may seem like extra insurance, but it creates a rounded ridge that catches light and makes trim look amateurishly repaired. The goal is to fill the gap with the smallest continuous bead that can be tooled flush.
Begin with a clean, dry joint. Remove dust, sanding residue, loose paint, and remnants of failed caulk using a utility knife, scraper, or painter's five-in-one tool. Vacuum the joint or wipe it with a clean microfiber cloth. Caulk does not bond reliably to chalky paint dust or loose material.
Cut the nozzle at a small angle, starting with a smaller opening than you think you need. You can always enlarge the opening slightly. For most trim gaps, the tip should produce a bead close to the width of the joint, not a thick rope of caulk.
Hold the caulk gun at roughly a 45-degree angle and move at a steady pace. Keep consistent pressure on the trigger. In most cases, pushing the nozzle forward helps force caulk into the joint and gives better control than dragging it behind the bead.
Work in manageable lengths, generally four to six feet at a time. Long walls can be divided at natural stopping points such as door casings, corners, or changes in trim detail. If the bead starts to skip, stop and correct it immediately rather than trying to hide the defect with excessive material.
After applying the bead, tool it promptly before a skin forms. A lightly dampened finger is effective for many small interior joints. Draw your finger in one steady pass, applying enough pressure to press caulk into the gap while removing the excess from both faces. Keep a damp rag nearby and clean your finger often.
A flexible caulk-finishing tool can provide more uniform results on larger runs or more visible architectural trim. Whatever tool you use, do not overwork the bead. Repeated passes pull material out of the joint and leave uneven edges that show through satin or semi-gloss paint.
Protect the Wall, Then Inspect in Raking Light
Masking tape is not always necessary around standard trim joints. A painter with controlled application can typically caulk and tool a clean line without it. Tape can be useful, however, on dark walls, textured surfaces, stained wood, wallpaper, or areas where excess caulk would be difficult to remove.
If using tape, apply it only where it improves control. Caulk the joint, tool the bead, and pull the tape while the caulk is still wet. Waiting until the material dries can tear the edge and defeat the purpose of masking.
Once the caulk has cured, inspect the trim from more than one angle. Side lighting from a window, lamp, or work light is particularly revealing. This raking light exposes ridges, pinholes, missed gaps, and shrinkage that may not be visible straight on. A disciplined finish process includes this inspection before final paint, not after the room has been put back together.
Small pinholes can be touched up with a light second application. If a joint has visibly cracked soon after drying, determine why before simply applying more caulk. The trim may be loose, the gap may be too large, or the wrong product may have been used.
Common Errors That Undercut an Otherwise Good Paint Job
The most frequent mistake is using caulk to hide a structural or installation issue. Caulk cannot hold a bowed baseboard tight to the wall or correct casing that was installed out of plane. Secure and align the trim first.
Another common error is filling every trim joint indiscriminately. Interior corner joints, mitered trim joints, and seams between pieces of painted molding may need wood filler or a different repair method, particularly if the trim moves independently. Caulk is best where trim meets a wall surface, not as a universal patching compound.
Finally, avoid rushing paint over fresh caulk. A finish that looks acceptable in the first hour may shrink back or split after drying. Allow the product's stated cure time, then apply paint at the specified spread rate. Heavy coats can also make fine defects more visible rather than less.
At Whitmore Painting, meticulous prep includes treating these small transitions as part of the finish system, not an afterthought. The result is trim that reads cleanly in daylight, under recessed lighting, and at the close range where quality becomes obvious.
A properly caulked joint should not announce itself. It should make the wall, the trim, and the paint film appear as though they were always meant to meet in one clean line.