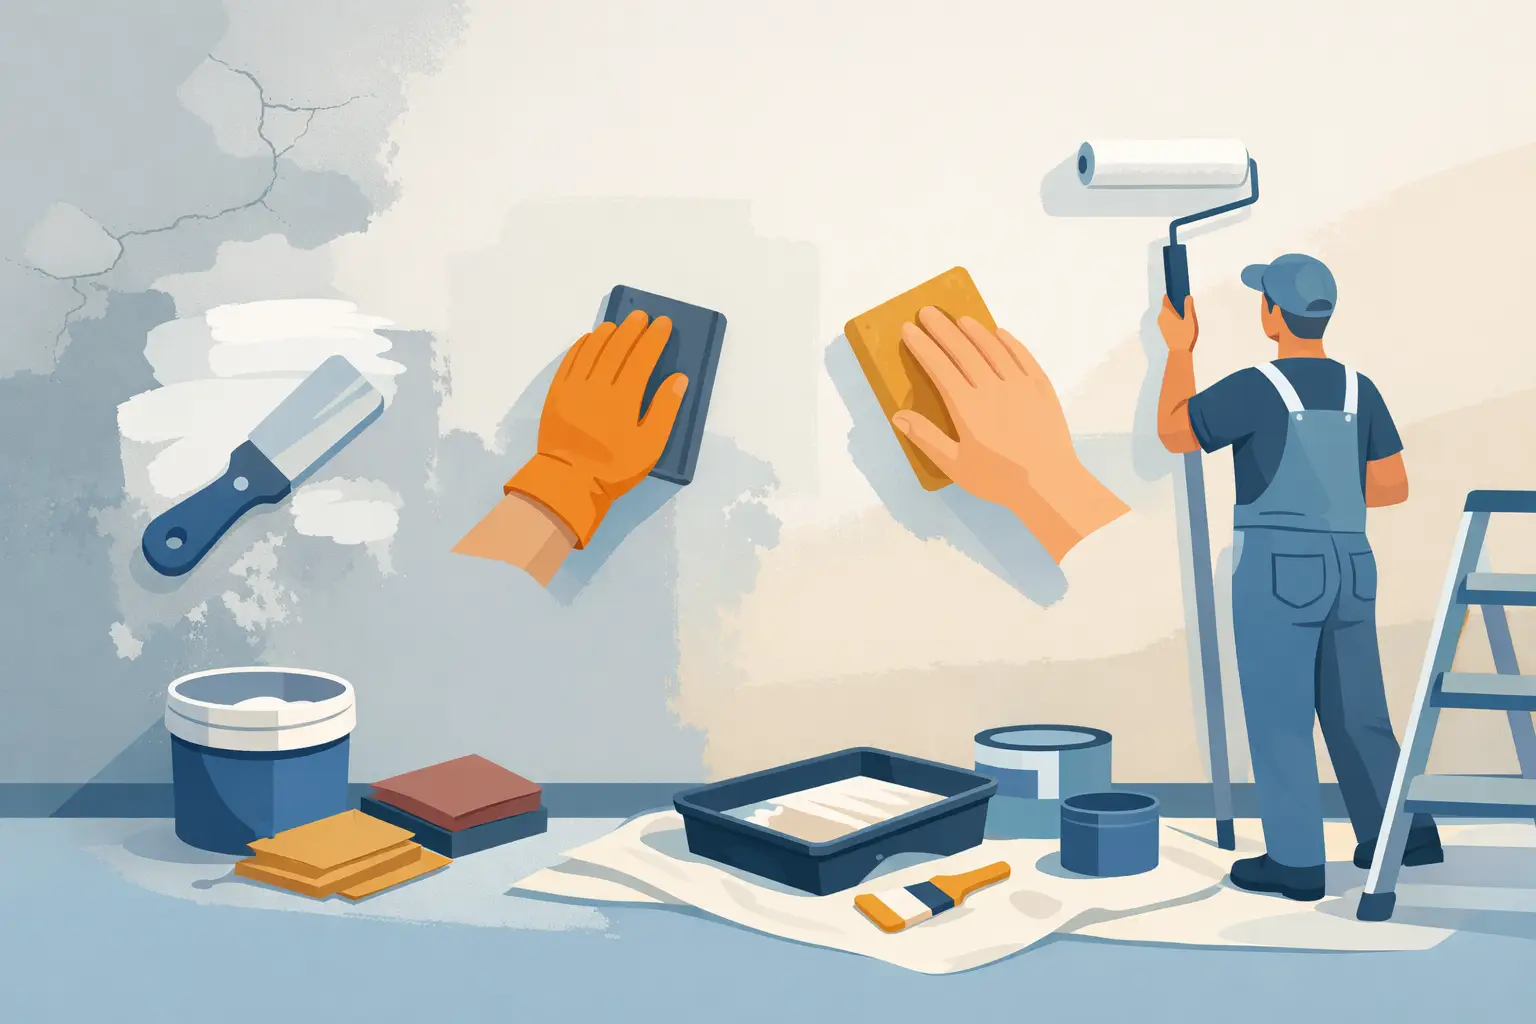
A premium paint finish is decided before the first coat goes on. Light from a window, recessed fixtures, and evening lamps will all expose drywall seams, patched areas, roller texture, and uneven sheen that looked harmless during the work. Knowing how to prepare walls properly is what separates a quick repaint from a finish that reads clean and consistent in every room.
For occupied homes, preparation also protects the space around the work. Floors, furnishings, hardware, and adjacent finishes need the same discipline as the wall itself. Good prep is not an optional phase between setup and painting. It is the work that gives paint a sound, uniform surface to bond to.
How to Prepare Walls Before Painting
The right preparation method depends on the wall condition, the existing coating, and the paint system being applied. A recently built room with sound drywall needs a different approach than a kitchen with grease residue, a hallway with repeated scuffs, or a plaster wall with old repairs. The sequence, however, remains consistent: inspect, protect, clean, repair, sand, prime, and inspect again.
Start with a close inspection
Walk the room slowly with the lights on, then inspect the walls from an angle. Side lighting is especially useful because it reveals raised patches, nail pops, ridges at drywall joints, and previous roller marks. Mark defects lightly with painter's tape or a pencil so they are not missed once work begins.
Look beyond visible damage. Cracks that return at the same location may indicate movement, while staining can point to a moisture issue that must be addressed before painting. Paint will not correct an active leak, loose drywall tape, failing caulk, or a wall that has not fully dried after repairs. Covering those conditions only delays a more expensive correction.
For homes with older finishes, test for sound adhesion. If paint is peeling, flaking, or lifting when masking tape is removed, loose material needs to be scraped back to a firm edge. If the failure is widespread, the surface may require more extensive removal and priming than a standard repaint.
Protect the Room Before Surface Work Begins
A clean job site starts before sanding dust or patching compound enters the room. Move furniture away from the work area where possible and cover what remains with clean plastic or breathable protective materials. Floors should be covered wall to wall with drop cloths or protective paper suited to the surface. Hardwood, stone, carpeting, and finished millwork all require different levels of protection.
Remove switch plates, outlet covers, window treatments, and hardware when practical. Painting around them is faster in the moment but often leaves cut lines and edges that look unfinished. Built-ins, cabinetry, and trim should be masked carefully only after the adjacent surfaces are clean and dry.
Containment matters most during sanding. Fine dust travels farther than most homeowners expect, settling in adjoining rooms and collecting in HVAC returns. A professional setup uses controlled sanding practices, dust extraction where appropriate, and daily cleanup so the home remains livable during the project.
Clean Walls So Paint Can Bond
Even walls that look clean can carry residues that interfere with paint adhesion. Cooking oils, handprints, hair products, candles, aerosol cleaners, and smoke all leave films that may cause fisheyes, uneven absorption, or premature peeling.
For most painted walls, wipe surfaces with a mild degreasing cleaner and clean water, working from the bottom upward to avoid dirty drips running down the wall. Change cloths frequently rather than spreading residue across the surface. Kitchens, bathrooms, mudrooms, and areas around light switches deserve extra attention.
Avoid soaking drywall. The goal is to remove contamination, not saturate the substrate. Allow the walls to dry fully before patching, sanding, or priming. If there is mildew, the moisture source should be corrected first, then the affected area cleaned using an appropriate treatment and allowed to dry completely.
Repair Cracks, Holes, and Surface Damage
Small nail holes can be filled with a quality lightweight patching compound, but larger defects require more than a quick swipe of filler. Loose material should be removed first. For holes, damaged corners, or compromised drywall tape, the repair needs reinforcement and enough drying time between coats to prevent shrinkage and visible depressions later.
Apply compound in thin, controlled layers, extending each coat slightly beyond the last. This feathers the repair into the surrounding wall instead of creating a hard edge that will show through low-sheen paint. Deep fills are best built up over multiple applications. A thick single coat can crack, shrink, or remain soft beneath the surface.
Cracks at trim, door casings, and baseboards may call for flexible paintable caulk, provided the gap is stable and appropriate for caulking. Caulk is not a substitute for repairing movement-related cracks in drywall or plaster. Where the building is shifting, a lasting solution may require a broader assessment.
Sand for a flat, uniform surface
Once patches are dry, sand them smooth and feather their perimeter. The objective is not simply to make the patch feel smooth under a hand. It needs to disappear under raking light. Use a sanding block or pole sander to keep the surface flat, and avoid concentrating pressure in one spot.
Previously painted walls also benefit from a light scuff sand, particularly when the existing finish is glossy or semi-gloss. This dulls the surface and improves mechanical adhesion for the next coat. High-gloss trim, lacquered surfaces, and certain cabinet coatings may require a more specific preparation system than standard wall paint.
After sanding, remove dust thoroughly. Vacuum walls, trim edges, floors, and nearby ledges with a soft brush attachment, then wipe remaining fine dust using a clean microfiber cloth. Paint applied over sanding dust can develop rough texture, poor adhesion, and inconsistent sheen.
Prime Where the Surface Calls for It
Primer is not automatically required on every repaint, but it is essential in several common situations. New drywall, bare joint compound, significant color changes, stained areas, repaired sections, and surfaces with adhesion concerns should be primed before finish paint is applied.
Bare patches are more porous than surrounding painted walls. Without primer, they can absorb paint differently and appear as dull or flashing areas once the room is finished. A spot primer may be enough for small isolated repairs, while a full prime coat is often the better choice when there are numerous patches, broad repairs, or a major shift from dark to light.
Stains from water, smoke, tannins, crayons, or grease require a stain-blocking primer selected for the source of the stain. Standard wall paint may cover the mark temporarily, but discoloration can migrate back through the finish. Allow repaired and primed areas to dry according to product requirements before assessing coverage.
Set Up Clean Lines and Check the Details
Masking is useful for protecting select surfaces, but it does not replace skillful cutting in. Tape should be applied to clean, dry, firmly bonded surfaces and pressed down consistently to reduce bleed-through. Remove it at the right stage for the coating being used, following the product guidance and avoiding damage to fresh paint edges.
Before opening finish paint, complete one final inspection. Run a work light along the walls and check corners, ceilings, trim transitions, and repaired areas. This is the point to correct a faint ridge or missed pinhole. Once the final coats are applied, those small defects become more difficult to address without disturbing the finish.
Temperature and humidity also affect the result. Walls should be dry, the room should be within the paint manufacturer's application range, and ventilation should support proper drying without driving excessive dust through the space. Rushing recoats can compromise leveling, adhesion, and the even sheen expected from premium interior work.
When Wall Preparation Requires a Professional Approach
Homeowners can handle straightforward cleaning, minor patching, and touch-up work. The trade-off is time and the ability to judge what will appear once paint dries. Large repairs, recurring cracks, water staining, textured-wall matching, skim coating, and detailed rooms with extensive trim benefit from a foreman-led process and systematic inspection.
At Whitmore Painting, meticulous prep is planned around the condition of the home, the selected coating, and the finish standard expected in the space. That includes protecting occupied interiors, controlling dust, correcting surface defects, and using the appropriate primer before hand-cut lines and finish coats begin.
The best time to address a wall defect is when it is still a marked spot in preparation, not when it becomes visible across a freshly painted room. Give the surface the time and attention it requires, and the final color will have the clean, durable foundation it needs.