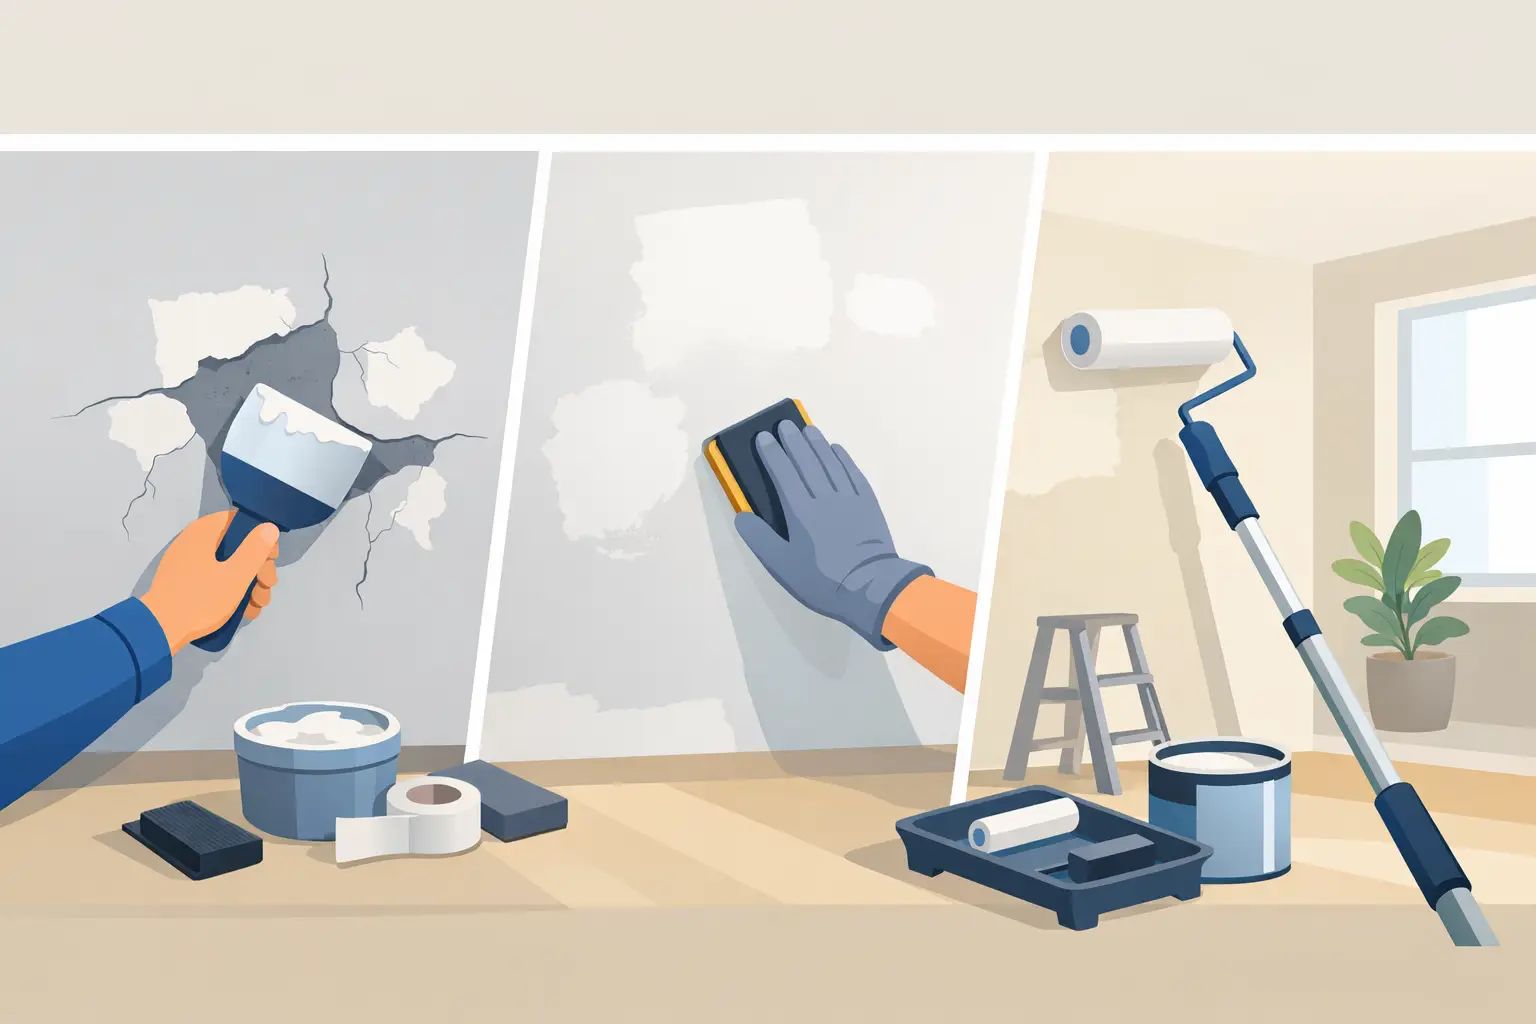
A newly painted wall can make a room feel finished or expose every shortcut taken before the first coat went on. Drywall repair before painting is what determines which result you get. Paint does not hide damaged board, raised seams, shallow patches, or poor sanding. In many cases, it makes them more visible, particularly when daylight moves across the wall or recessed lighting hits it at an angle.
For homeowners planning an interior repaint in Toronto and the GTA, surface repair should be treated as part of the paint system, not as a minor add-on. A high-end finish begins with a stable, level substrate. The paint is the final layer that reveals the work underneath.
Why Paint Exposes Drywall Problems
Most wall defects are visible because paint changes the way light reflects across a surface. A patch that feels smooth to the hand may still sit slightly proud of the surrounding wall. A broad area of joint compound may have a different texture than the existing finish. Once paint is applied, especially in a satin, eggshell, or higher-sheen product, those differences can read as dull spots, ridges, or flashing.
Flashing occurs when repaired areas absorb paint differently from the surrounding wall. It is common over unprimed patches, thin repairs, and areas where joint compound has been sanded but not properly sealed. The color may match, but the sheen will not read consistently. In a living room with large windows, that inconsistency can be visible from across the space.
Lighting matters as much as paint color. Strong side lighting from windows, sconces, or pot lights reveals surface irregularities that overhead ambient light can conceal. This is why a repair that appears acceptable during a quick daytime walkthrough may be unacceptable once the room is furnished and lit at night.
What Proper Drywall Repair Before Painting Includes
A professional repair process starts with identifying the cause of the damage. A nail pop, for example, may need more than a skim of compound. The fastener should be addressed and the surrounding board checked for movement. A recurring crack along a ceiling line or beside a door opening may point to seasonal movement, framing movement, or an earlier repair that was too narrow to hold.
Small dents and picture-hanging holes are usually straightforward, but they still require clean edges, properly applied compound, and enough drying time between coats. Larger holes require backing, replacement board, tape, and a staged build-up of compound. Skipping the backing or applying compound too heavily in one pass can create shrinkage, cracking, or a repair that remains visible after painting.
Seam repairs require particular care. Loose tape must be removed back to sound material, then retaped and feathered broadly. Covering a failed seam with a thin layer of compound rarely lasts. If the tape has detached, the repair needs to re-establish the joint rather than simply disguise it.
Corner damage also calls for the right method. Minor scuffs on an outside corner may be filled and shaped. A bent or rusted metal corner bead, however, can require partial replacement. Trying to bury a damaged bead under compound often leaves a soft, uneven corner that chips again with normal use.
The Difference Between a Patch and a Finished Surface
The most common repair failure is not the patch itself. It is the transition from the patch to the existing wall. Joint compound must be feathered wide enough that the repair disappears gradually rather than ending in a noticeable edge.
A small hole may need a repair area several times wider than the damage. That wider feather allows the surface to return to plane. The same principle applies to cracks and seams. Narrow repairs tend to leave visible humps, even when they have been sanded carefully.
Texture matching is another consideration. Smooth walls are less forgiving because every irregularity is exposed. Orange-peel, stipple, or hand-applied textures require a separate matching process before paint. There is no universal method because existing textures vary by age, application technique, previous repairs, and layers of old paint. A test area is often the responsible approach, especially in a prominent room.
For older homes, the work can become more involved. Multiple repaint cycles can create built-up edges around old patches, trim lines, and removed wall coverings. In these cases, broad skimming may be more efficient and produce a better result than chasing individual defects one at a time.
Sanding Is Inspection, Not Just Cleanup
Sanding is frequently treated as the final, dusty step before painting. It should be a controlled inspection stage. The goal is to remove ridges and leave a uniform plane without gouging the board face or polishing compound so aggressively that the repair loses its shape.
A work light held close to the wall is one of the most useful tools in this process. Raking light reveals high spots, pinholes, sanding scratches, and edges that ordinary room lighting misses. Repairs should be checked from more than one position because a defect can disappear when viewed straight on and become obvious from the side.
Dust control matters in occupied homes. Drywall dust migrates quickly into adjacent rooms, settles on trim and floors, and compromises paint adhesion if left on the surface. A clean process includes containment where needed, careful vacuuming, and wiping or dust removal before primer and paint are applied. Cleanliness is not cosmetic. It protects the finish and makes the work more livable while it is underway.
Primer Is Part of the Repair System
Joint compound is porous. Applying finish paint directly over it can lead to uneven absorption, flashing, and a patchy sheen. Spot-priming repaired areas is usually necessary, even when the entire wall will receive two finish coats.
The correct primer depends on the condition of the wall and the coating system being used. Standard drywall primer may be appropriate for clean, routine repairs. Stain-blocking primer may be required where there has been water staining, smoke residue, marker bleed, or other contamination. Water damage should never be handled as a paint-only issue. The source of moisture needs to be resolved first, and compromised drywall may need replacement rather than cosmetic repair.
In some circumstances, priming the full wall produces the most consistent result. This is especially true after broad skim coating, significant patching, major color changes, or repairs in rooms with demanding light. It adds time and material, but it can reduce the risk of visible variation in the final sheen.
When a Repaint Needs More Than Minor Repairs
Not every wall should be treated with spot repairs alone. Extensive cracking, repeated nail pops, soft drywall, widespread tape failure, or prior water damage may indicate that localized filling will not deliver a durable finish. The appropriate scope may include board replacement, retaping, broad skimming, or coordination with another trade before painting begins.
This is where a site assessment matters. A disciplined painting contractor should distinguish between ordinary wear and conditions that need a larger repair. Promising a flawless finish over unstable drywall is not good workmanship. It only postpones the problem until after the room is painted and the furniture is back in place.
Homeowners should also be realistic about sheen selection. Flat paint is more forgiving of minor surface variation, while eggshell and satin are more washable but reveal more defects. Neither option is universally better. The right choice depends on the room, the amount of natural light, the intended use, and the quality of the substrate.
A Better Standard for Finished Walls
The best time to find a drywall defect is before paint, not after final inspection. That requires enough time for compound to dry, careful sanding between coats, proper priming, and a lighting check before the finish coats are applied. Rushing this sequence may save a day on the schedule, but it can create a result that remains visible for years.
At Whitmore Painting, meticulous prep is planned into the work rather than treated as a surprise after the crew arrives. Foreman-led execution, clean jobsite practices, and clear scope decisions help protect both the schedule and the finished surface.
A painted wall should read as one continuous plane, not as a collection of old repairs. When drywall is repaired correctly before painting, the room feels calm, intentional, and complete in every light.