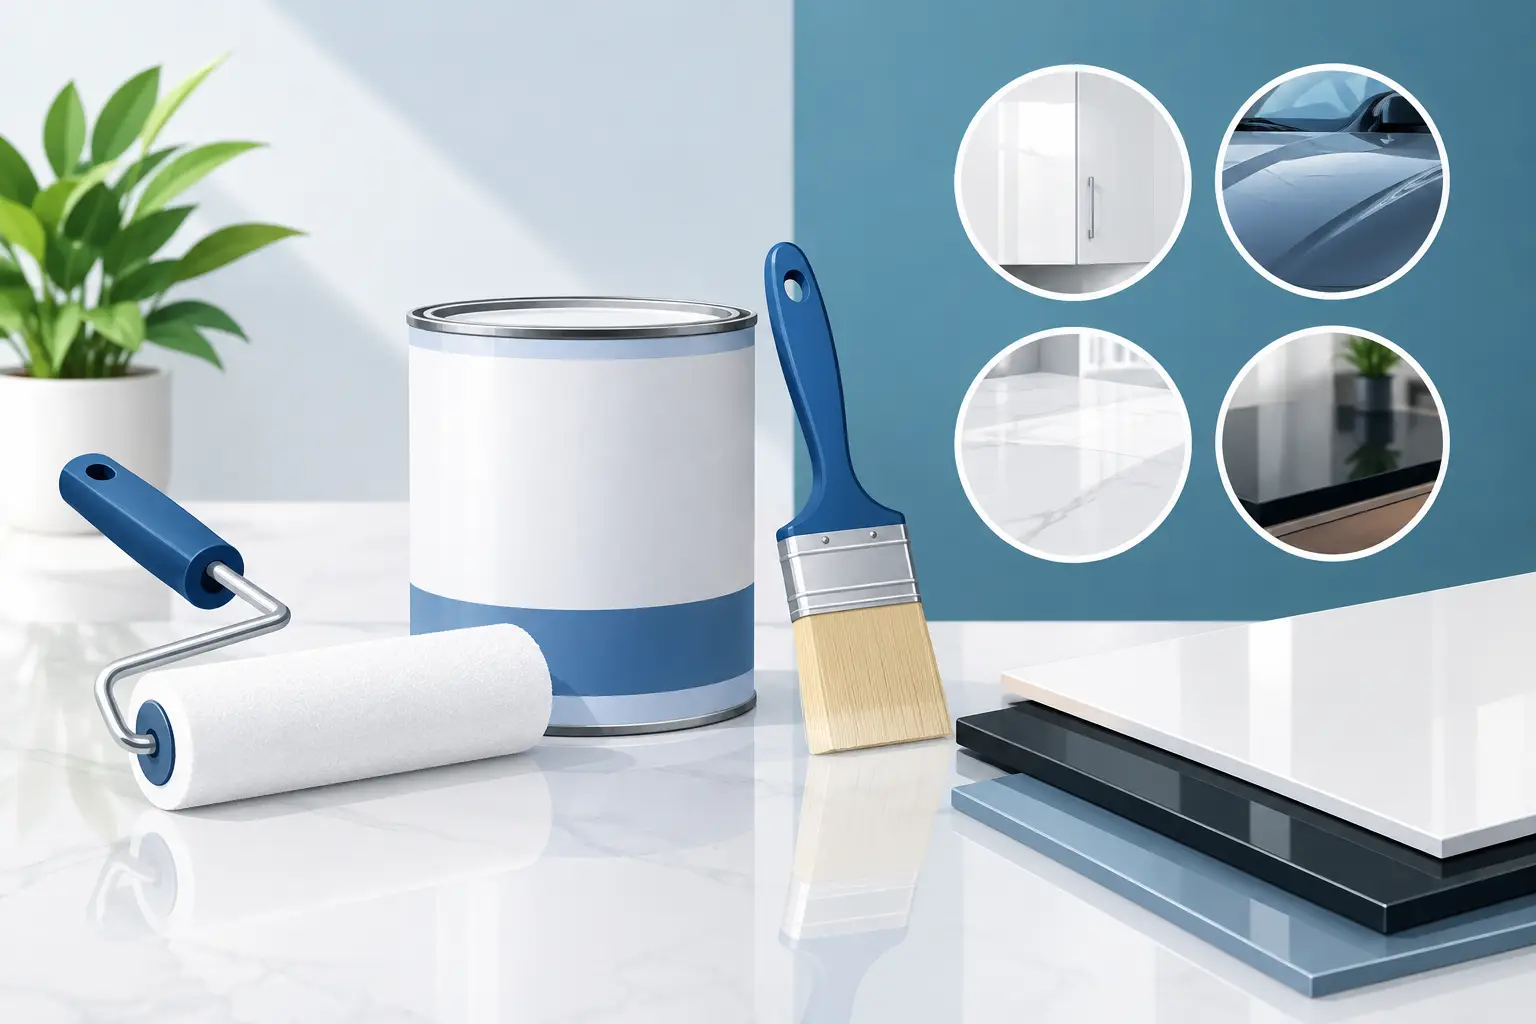
A primer for glossy surfaces is not a shortcut around preparation. It is one part of a coating system designed to create adhesion where a hard, slick finish would otherwise resist new paint. On cabinetry, interior trim, painted doors, and certain exterior details, the result depends as much on cleaning and sanding as it does on the primer selected.
Gloss paint is built to shed dirt, moisture, and abrasion. Those same characteristics make it difficult for a new coating to grip. When paint is applied directly over an unprepared glossy surface, it may look acceptable at first, then scratch, chip, or peel at high-contact points. A properly prepared and primed surface provides a stable base for a consistent, durable finish.
When a Primer for Glossy Surfaces Is Required
Primer is generally required when the existing coating is sound but has a hard sheen, such as satin, semi-gloss, or high-gloss enamel. The higher the sheen, the less surface profile is available for the next coat to mechanically bond. This is common on factory-finished cabinets, painted woodwork, interior doors, railings, and older oil-painted trim.
It is also necessary when the surface has been cleaned aggressively, sanded through in spots, repaired with filler, or exposed to bare wood. Those areas absorb paint differently than the surrounding finish. A suitable primer evens out porosity and helps prevent flashing, where patched or sanded sections show through as dull or uneven areas after the finish coat dries.
Not every previously painted surface needs a full prime coat. A wall painted in a low-sheen finish that is clean, sound, and lightly scuff-sanded may accept a compatible repaint without primer. The decision changes with glossy surfaces, unknown coatings, repairs, stains, or a major color change. Skipping primer on a hard substrate may save a few hours initially, but it often creates a repair problem that takes far longer to correct.
The First Step Is Identifying the Existing Finish
Before selecting a primer, determine what is already on the surface. Older trim and doors may carry an oil-based or alkyd enamel. Newer cabinetry may have a catalyzed factory coating, lacquer, conversion varnish, laminate, or thermofoil. Each substrate calls for a different level of preparation and, in some cases, a different coating system altogether.
A simple field test can provide useful direction. Rub a discreet area with denatured alcohol on a clean rag. If the finish softens or transfers, it may be a water-based coating. If it remains unchanged, it could be oil-based, lacquered, or a more durable factory finish. This test is not a complete specification, but it helps identify risk before the first coat is applied.
For kitchen cabinets, painted built-ins, and high-end millwork, assumptions are costly. These are high-touch surfaces viewed closely in changing light. A coating that adheres adequately on a wall may still fail on a cabinet door near a handle or a painted handrail used every day.
Preparation Creates the Bond
The most dependable primer will not adhere to cooking residue, furniture polish, hand oils, silicone, or wax. Cleaning comes first. On cabinetry and trim, a degreasing cleaner should be used thoroughly, followed by a clean-water wipe where required by the product instructions. The goal is to remove contaminants rather than spread them across the surface.
Once dry, the glossy finish should be scuff-sanded to create a uniform tooth. This does not mean sanding every surface down to bare wood. It means dulling the sheen consistently, including profiles, edges, and recessed details. Areas that remain shiny are areas where adhesion remains uncertain.
Dust control matters at this stage. Fine sanding dust can settle into primer and leave a rough finish that becomes more visible under semi-gloss or satin paint. Professional cabinet and trim work requires careful vacuuming, wiping, and site protection before priming begins. Clean preparation supports clean hand-cut lines and a smoother final film.
If the existing paint is peeling, all loose material must be removed and the edge feathered. Primer cannot glue failing paint back to the substrate. The same principle applies to water-damaged wood, swollen MDF, and deteriorated exterior trim. Those conditions must be repaired or replaced before a finish system can be expected to perform.
Selecting a Primer for Glossy Surfaces
The right primer depends on the substrate and the reason for priming. An adhesion primer is intended to bond to difficult, nonporous finishes after proper cleaning and sanding. It is often the appropriate category for sound glossy doors, trim, laminate, and properly prepared factory-finished cabinetry.
A stain-blocking primer is a different tool. It may be needed when knots, water marks, tannins, smoke staining, or grease are likely to bleed through the new finish. Shellac-based and certain solvent-based primers offer strong stain blocking, but they have a stronger odor, faster working time, and more demanding cleanup. They are useful where their performance is needed, not as a default choice for every room.
Water-based bonding primers can offer lower odor and practical dry times for occupied homes. They work well when matched to a compatible finish coat and applied at the manufacturer’s recommended coverage. The trade-off is that not all water-based primers are suitable for every slick factory coating or every exterior exposure. A cabinet refinishing system should be specified as a complete system, not assembled from leftover products.
On exterior glossy trim, exposure adds another consideration. The primer must handle movement, moisture, temperature changes, and ultraviolet exposure through the finish coat. Bare wood should be spot-primed promptly, end grain should receive particular attention, and failed caulking should be addressed before paint is applied. Primer does not compensate for moisture entering behind a board or a joint that has opened with seasonal movement.
Application Standards Affect the Final Finish
Primer should be applied evenly, with enough film build to cover repairs and create a continuous bonding layer without flooding profiles or creating runs. On cabinetry and fine trim, a spray-and-back-roll or spray application may be used depending on the surface, containment plan, and finish specification. The method matters less than control: consistent coverage, clean edges, and the correct dry film thickness.
Dry time is not the same as cure time. A primer may feel dry to the touch while still being too soft to sand, recoat, or support a finish coat. Rushing this interval can trap solvents, reduce intercoat adhesion, or leave a surface that gums up under sandpaper. Temperature, humidity, airflow, and product chemistry all affect the schedule.
After priming, a light finish sand is often required. This step removes raised grain, dust nibs, and minor texture before the topcoat. It is particularly important on doors, trim, and cabinets, where light from windows and fixtures reveals every inconsistency. The surface should then be fully cleaned before the finish coats are applied.
Common Failures and What They Usually Mean
Peeling around handles, knobs, and door edges usually points to contamination, inadequate sanding, or an incompatible primer. A rough finish often comes from poor dust removal, overworking the coating, or applying material outside recommended conditions. Yellowing or brown marks appearing through white paint indicate that staining was not properly sealed.
Flashing is more subtle but just as frustrating in premium interiors. It can appear as irregular sheen or visible repair areas after the paint dries. Causes include uneven suction, missed primer on patches, inconsistent spread rate, or applying finish paint over surfaces that were not uniformly prepared. Under directional light, these defects are difficult to hide with an additional coat.
The correct response is not always another layer of paint. The affected area may need to be cleaned, sanded back, spot-primed or fully primed, and recoated within a compatible system. Diagnosing the source of the failure is more reliable than covering it repeatedly.
For a durable result, treat glossy paint as a substrate that must be prepared, not simply a color that needs changing. The extra attention is most valuable on the surfaces people touch, use, and inspect every day.