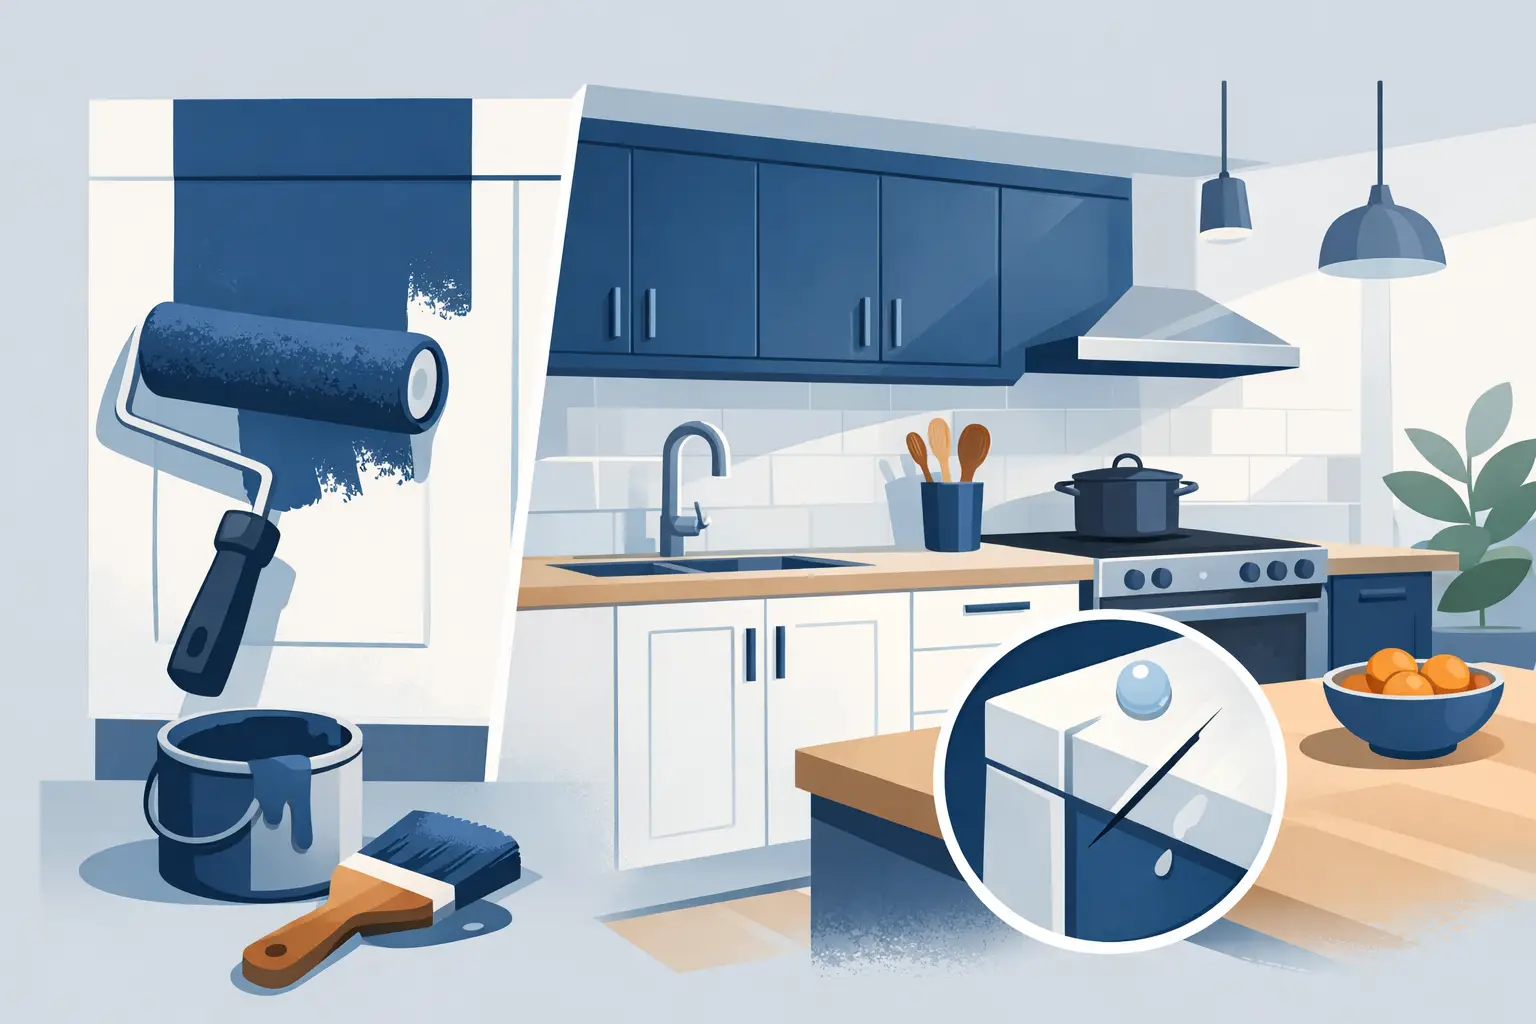
A kitchen can look newly designed without replacing a single cabinet box, but only if the finish is built for the work the room does every day. Cabinet coatings are not interchangeable with wall paint. They must tolerate repeated cleaning, hand oils, steam, food splatter, closing doors, and the close-range scrutiny that kitchen cabinetry receives in every kind of light.
For homeowners considering cabinet refinishing, the visible color is only one decision. The coating system, preparation standard, application method, and curing time determine whether the result reads as factory-smooth or begins to show wear at handles, corners, and door edges within a short period.
What Cabinet Coatings Need to Do
Cabinet doors are high-touch surfaces. Unlike a painted wall, they are opened, wiped, bumped, and exposed to moisture every day. A suitable coating needs adhesion that remains stable over an existing finish, enough hardness to resist marking, and enough flexibility to avoid premature chipping as wood components move with seasonal humidity.
It also needs to look right. Premium cabinetry should have consistent sheen from door to door, clean coverage around profiles, and a smooth surface that does not telegraph roller texture, dust, or poor sanding beneath the paint. In kitchens with large windows, under-cabinet lighting, or glossy stone, small flaws are easier to see. The finish must hold up visually as well as physically.
This is why cabinet painting is a separate trade process from a standard interior repaint. The work is less about applying more paint and more about controlling every layer beneath the final coat.
The Difference Between Paint and a Cabinet Coating System
A cabinet coating system includes more than the finish coat. It begins with cleaning and degreasing, then moves through sanding, repairs, primer selection, spraying or controlled fine-finish application, and curing. Skipping any stage can compromise the stages that follow.
Kitchen cabinets often carry an invisible film of cooking residue, furniture polish, hand oils, or cleaning products. Paint applied over that contamination may initially look acceptable, then release around pulls, edges, or frequently used drawers. Thorough degreasing and mechanical abrasion give the primer a surface it can grip.
Primer matters because cabinet materials vary. Solid wood, wood veneer, MDF, laminate, thermofoil, and previously painted cabinetry do not respond the same way. A system that performs well on sanded maple doors may not be appropriate for a slick laminate surface. Before recommending a coating, a professional should identify the substrate and assess the condition of the existing finish.
Some cabinets are good candidates for refinishing. Others have failing thermofoil, water-swollen MDF, loose veneer, or structural damage that a coating cannot correct. Honest assessment is part of a durable result. Paint can modernize sound cabinetry, but it should not be presented as a cure for material failure.
Waterborne and Solvent-Based Options
Modern waterborne cabinet coatings are often the preferred choice for occupied homes because they can deliver strong durability with lower odor and faster return-to-service times than traditional solvent-heavy products. High-quality waterborne systems level well, resist yellowing, and can provide a refined satin, semi-gloss, or matte appearance when applied correctly.
Solvent-based products can still have a role in certain applications, particularly where exceptional blocking resistance or specific substrate performance is required. They generally carry stronger odors, require more ventilation, and can complicate work in a lived-in home. The right choice depends on the cabinetry, site conditions, finish expectations, and project schedule, not on a single product label.
A professional specification should also account for sheen. Higher sheens are easier to wipe down and can feel more formal, but they reveal more surface irregularities. Satin remains a common choice for painted kitchen cabinets because it balances cleanability with a restrained look. Lower sheens can be attractive in contemporary spaces, though they require a very controlled application and may show burnishing in high-contact areas.
Meticulous Prep Is Where Durability Begins
The strongest cabinet coatings cannot compensate for weak preparation. Proper prep starts with removing doors, drawer fronts, and hardware wherever practical. This creates access to edges and profiles that are difficult to coat cleanly when components remain in place. It also allows boxes, doors, and drawers to be prepared as separate surfaces rather than treated as one rushed assembly.
After cleaning, the existing finish is sanded to create an appropriate profile for adhesion. Damage is filled, loose joints are addressed, and worn areas receive additional attention. Fine sanding between coats helps remove minor texture and creates the smooth, uniform surface associated with quality cabinetry.
Masking and containment matter just as much. Cabinet refinishing takes place in the center of the home, often beside countertops, appliances, flooring, and finished millwork that cannot be casually exposed to overspray or dust. A disciplined crew protects adjacent surfaces, controls the work area, and keeps the site livable throughout the project.
For occupied Toronto and GTA homes, this operational detail is not secondary. A kitchen renovation already disrupts daily routines. Cabinet painting should be organized around clear staging, careful protection, and dependable scheduling rather than adding unnecessary disorder to the home.
Why Spray Application Produces a Better Result
A factory-smooth result typically depends on spray application for cabinet doors and drawer fronts. Spraying distributes the coating evenly across flat panels, routed profiles, and edges without the texture often left by brushes or rollers. It is particularly valuable on shaker doors, where inside corners and narrow rails can quickly reveal inconsistent application.
That does not mean every surface should be sprayed without judgment. Cabinet boxes may require a combination of controlled spray work and fine-finish hand application depending on access, protection requirements, and the layout of the kitchen. The standard remains the same: even coverage, hand-cut lines where required, and a consistent finish across every visible component.
Application conditions also affect the outcome. Temperature, humidity, ventilation, and dust control influence how a coating flows, dries, and cures. A coating can be technically excellent and still underperform if applied in poor conditions or recoated outside its specified window. This is one reason cabinet refinishing should not be treated as a quick weekend paint job.
Curing Time Is Not Optional
Dry to the touch is not the same as fully cured. Cabinet coatings may feel dry within hours, but they need additional time to develop their full hardness and chemical resistance. During that period, doors should be handled carefully, and aggressive cleaners should be avoided.
The exact cure period depends on the coating system and site conditions. Homeowners should receive clear guidance on when doors can be reinstalled, when hardware can be used normally, and how long to wait before placing heavy items against newly finished surfaces. Rushing this stage can leave pressure marks, sticking doors, or damage around hinges and pulls.
A good contractor plans for cure time instead of treating it as an inconvenience. It is part of the schedule, just like prep, spraying, and reassembly.
Choosing a Color That Will Read Consistently
Cabinet color changes dramatically with lighting. A white that appears crisp in a north-facing kitchen can look warmer under evening LEDs. A deep green or charcoal can feel tailored and architectural in daylight, then show fingerprints more readily under direct task lighting. Sample boards should be viewed against the countertop, backsplash, floor, and wall color at different times of day.
Undertones deserve close attention. Many popular whites carry gray, cream, green, or pink undertones that become noticeable beside fixed finishes. The same applies to grays, taupes, and natural wood-adjacent shades. A carefully selected coating color should support the permanent elements of the kitchen rather than compete with them.
For custom homes and larger renovation projects, cabinet finishes should also be coordinated with trim, interior doors, wall colors, and metal finishes. Consistency across these surfaces gives the home a considered appearance, especially in open-concept spaces where the kitchen is visible from several rooms.
Maintaining a Refinished Cabinet Finish
Once fully cured, painted cabinets are straightforward to maintain. Use a soft cloth with mild soap and water for routine cleaning, then dry the surface rather than allowing moisture to sit at seams or door edges. Avoid abrasive pads, harsh degreasers, and strong solvents, which can dull or weaken even a high-performance finish.
Hardware helps protect the coating as well. Pulls and knobs reduce repeated contact with the painted door face, particularly on frequently used cabinets. Soft-close adjustments should be checked if doors rub against each other or strike the cabinet frame, since mechanical contact can wear through a finish over time.
The right cabinet coating is not simply the hardest product available. It is a well-matched system, applied over meticulous prep and allowed to cure under controlled conditions. When those standards are in place, refinishing can give sound cabinetry a durable, precise finish that belongs in the rest of the home.