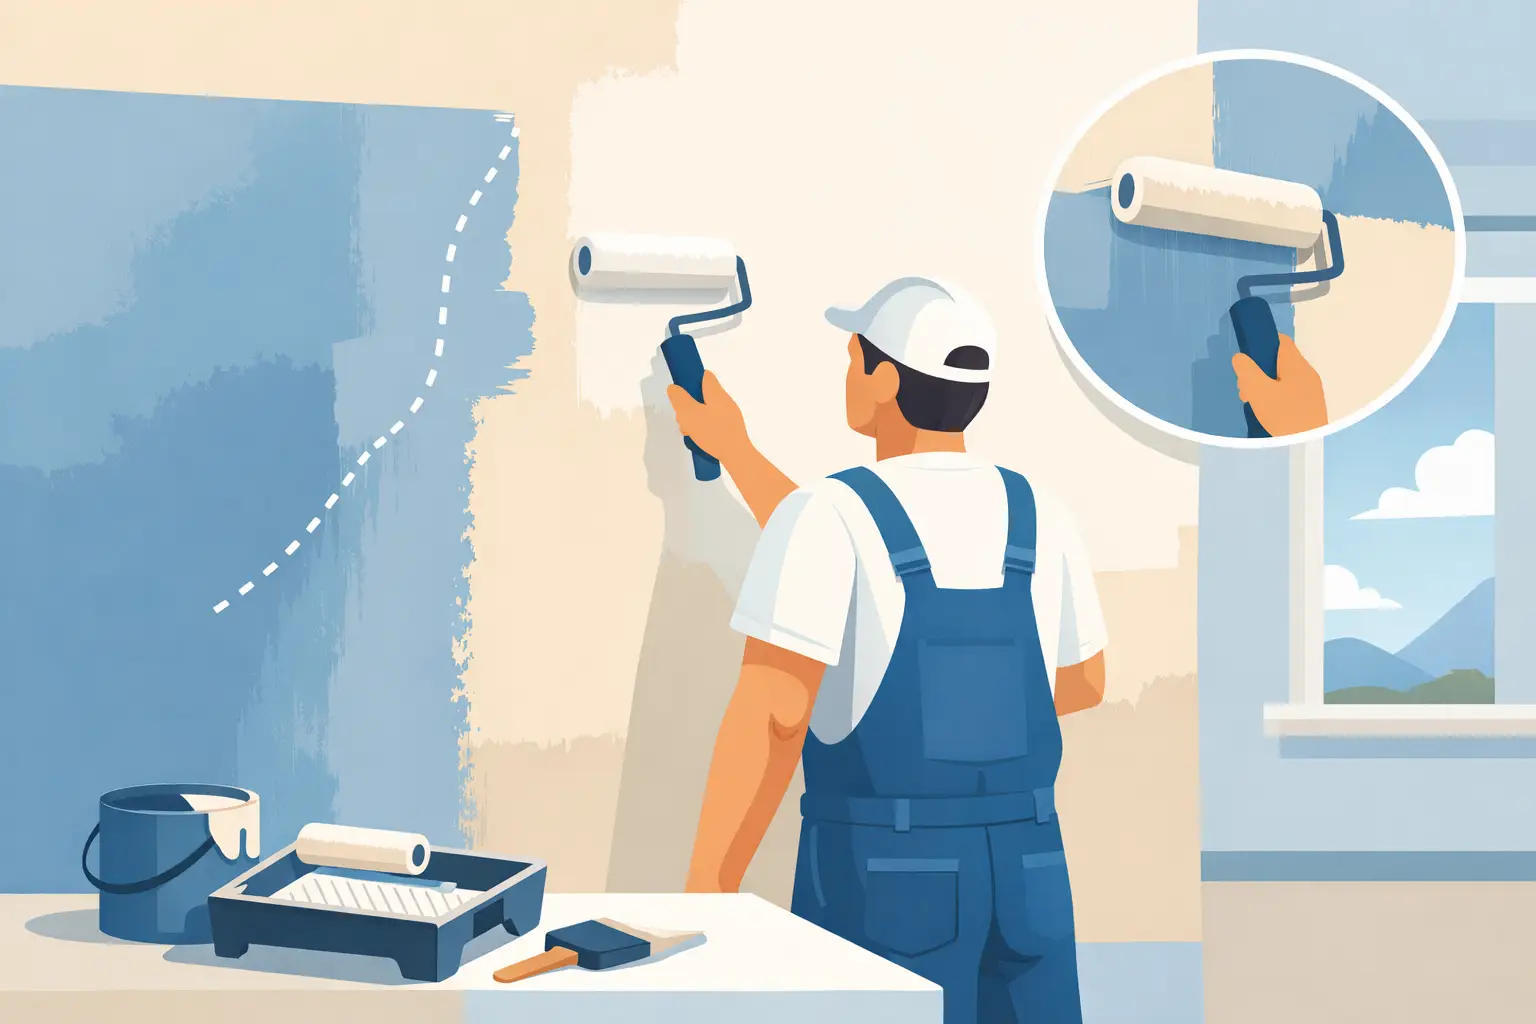
A wall can look properly painted from one angle and visibly striped from another. Those darker or glossier bands are usually lap marks: areas where fresh paint overlaps paint that has already started to dry. They are especially frustrating in living rooms, hallways, stairwells, and other broad wall surfaces where changing daylight makes every variation in sheen easier to see.
Lap marks are not simply a cosmetic inconvenience. They usually point to a breakdown in application control - often caused by working too slowly, using the wrong roller setup, painting in poor conditions, or applying an inconsistent film thickness. A refined finish depends on keeping a wet edge from the first cut-in to the final roller pass.
What Are Lap Marks?
Lap marks occur when the edge of one painted section dries before the adjoining section is applied. The overlap receives more paint, dries differently, and reflects light differently than the surrounding wall. With flat paint, the issue may appear as a darker band. With eggshell, satin, or semi-gloss finishes, it can show up as a noticeably shinier stripe.
They are most common on walls, ceilings, and large exterior elevations. They can also appear on doors, trim, and cabinets when a coating is brushed or rolled unevenly. On cabinetry, the comparable problem is often called flashing or uneven sheen, but the underlying issue is similar: the coating was not kept uniform while it was being applied and leveled.
A lap mark can be difficult to photograph and impossible to ignore once the light hits it at the right angle. This is why a wall should be assessed from more than one viewing position before a project is considered complete.
Why Lap Marks Happen
Paint begins to set as water or solvent evaporates. Once that process has started, a roller passing back over the area does not blend the paint smoothly. Instead, it deposits a second layer at the overlap. The result is a visible change in texture, color depth, or sheen.
The most common cause is a lost wet edge. A painter may cut in an entire room before rolling the walls, then return to find that the brushed perimeter has started to dry. Or they may complete a narrow roller section, pause to refill the tray, answer a call, or move a ladder, and then overlap a section that is no longer workable.
Conditions inside the home matter as well. High heat, direct sun, low humidity, forced-air heating, and strong air conditioning can all shorten open time. A wall beside a large south-facing window may dry substantially faster than the rest of the room. The same is true outdoors, where direct sunlight and wind can make a coating set before it has time to level.
Product selection also has an effect. Some paints are formulated for longer open time and better flow, while others dry quickly by design. A fast-drying product may be appropriate for certain trim or touch-up work, but it gives the applicator less room for error on a large wall. Paint that has been over-thinned, poorly mixed, or applied at an improper spread rate can create similar inconsistencies.
Finally, technique matters. Rolling in disconnected patches, allowing a roller cover to run dry, pressing too hard, or repeatedly back-rolling paint after it has begun to tack can all create visible lap lines. Quality paint helps, but it cannot correct poor timing or uneven application.
Preventing Lap Marks Requires a Wet-Edge Plan
Professional results begin before the can is opened. The room needs to be organized so the painter can work continuously and keep the job site controlled. Furniture should be protected and moved far enough from the walls to allow a clear path. Tools, extension poles, roller covers, paint, and ladders should be staged before application begins. Stopping midway through a wall to search for supplies is an avoidable risk.
The wall itself must be properly prepared. Dust, sanding residue, grease, and patching compounds can affect adhesion and absorption, creating uneven appearance even when the paint is applied correctly. Fresh repairs should be sealed or primed where required. A porous patch can draw moisture from the topcoat faster than the surrounding wall, making the paint appear darker or duller after drying.
For most wall repaints, it is better to work one complete wall at a time. Cut in a manageable section, then roll that section while the brushed edge is still wet. The goal is not speed for its own sake. The goal is continuity. A controlled sequence allows the brushwork and roller application to merge into one consistent film.
A roller should be loaded evenly, then applied in a section that can be maintained without interruption. The paint is spread, distributed, and lightly finished in a consistent direction. The next section overlaps the previous one while its edge remains wet. Excessive pressure should be avoided. When a cover becomes dry, it no longer distributes paint evenly and can leave a thin, textured edge that becomes visible after drying.
On large walls, two painters can produce a better finish than one when the schedule and room layout support it. One painter maintains clean, precise cut-in work while the other follows immediately with the roller. This is particularly useful in rooms with high ceilings, extensive millwork, or strong natural light. Coordination matters more than simply adding labor.
The Role of Paint, Tools, and Room Conditions
A premium coating is designed to provide stronger coverage, better leveling, and more reliable sheen consistency. However, the right product still needs to match the surface and environment. A contractor should consider the wall condition, existing finish, desired sheen, ambient temperature, humidity, and lighting before specifying the coating system.
Roller cover selection is equally important. A cover with too much nap can leave excessive texture on a smooth wall. One with too little nap may not carry enough paint to maintain a wet edge. The correct choice depends on the surface profile and coating, but the finish should look intentional and consistent across the full wall.
Temperature control is often overlooked during interior work. Open windows may bring in dry air, while heating vents can cause one area of the wall to flash more quickly than another. Closing blinds against direct sun, moderating airflow, and working within the paint manufacturer's recommended conditions can materially improve the result. The room does not need to be sealed off from normal living conditions, but application should not be rushed in an environment that is actively working against the paint.
Can Lap Marks Be Fixed Without Repainting?
Sometimes, but not always. A minor lap line may become less noticeable once the coating fully cures, especially in a low-sheen paint and soft lighting. If it remains visible after the recommended cure period, spot-touching the line is rarely the best answer. A localized touch-up often creates a second difference in sheen or texture.
The more reliable repair is to repaint the full wall from corner to corner. This removes the visual break at the repaired area and gives the painter a fresh opportunity to maintain a wet edge. If the wall has significant patching, stains, or uneven porosity, spot priming may be required before the full finish coat is applied.
For ceilings, large feature walls, and open-concept spaces, the decision can be more involved. A visible lap mark may require repainting an entire uninterrupted plane rather than stopping at an arbitrary point. Architectural breaks, inside corners, door casings, and changes in material are natural places to end a painting section. Mid-wall repairs are not.
When the Issue Is Not Actually a Lap Mark
Not every uneven wall is caused by overlapping paint. Flashing can result from drywall repairs that were not primed, inconsistent absorption in new drywall, uneven sanding, or patches of residual adhesive. Poor lighting can also reveal roller texture that is technically uniform but more visible because of a very dark color or higher sheen.
A careful inspection distinguishes between a film-build issue and a substrate issue. If the variation follows roller passes or appears in repeated vertical bands, lap marks are likely. If it appears around patches, seams, or repaired areas, surface preparation may be the real concern. The remedy must match the cause.
For homeowners, the practical standard is simple: a finished wall should read as one continuous surface in normal daylight and evening lighting. Achieving that standard takes more than applying a good paint. It requires meticulous prep, controlled conditions, proper tools, and a disciplined application sequence that does not leave the finish to chance.