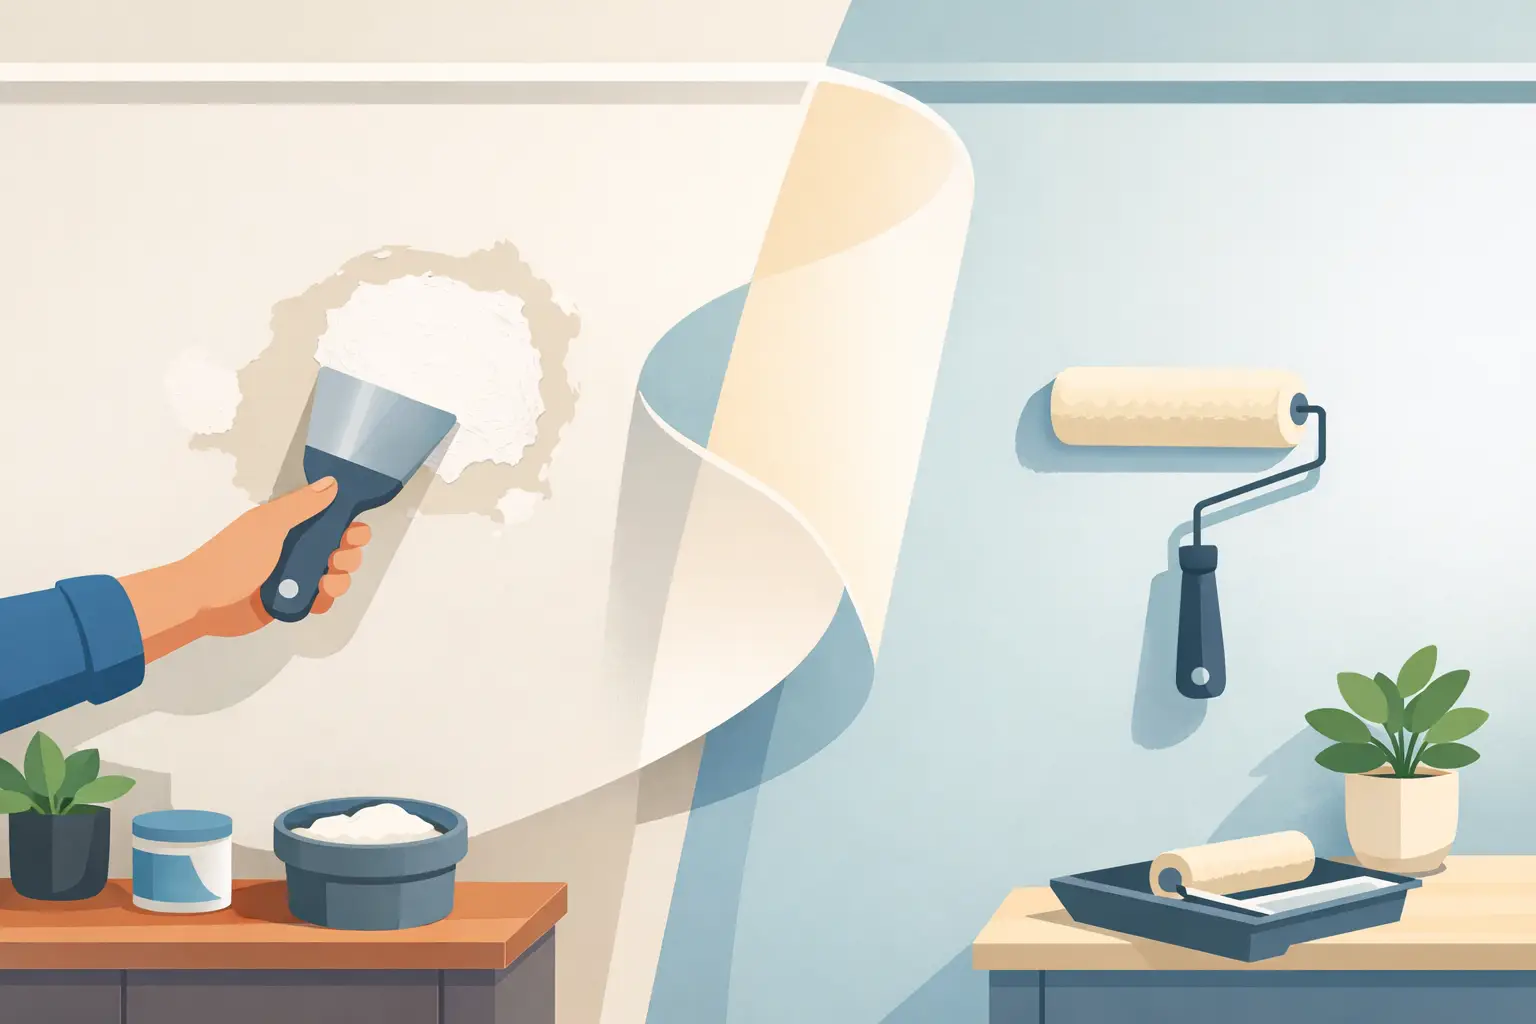
A freshly painted room can still look unfinished if the wall repairs announce themselves in every change of light. Wall patching is not a minor step before painting. It is the surface-preparation work that determines whether the final finish reads as clean, flat, and intentional - or as a collection of old repairs beneath new paint.
For homes in Toronto and the GTA, this matters especially in spaces with broad windows, recessed lighting, and smooth, low-sheen finishes. Those conditions reveal uneven drywall work quickly. A proper repair has to disappear not only from straight on, but also from the side, under daylight, and after the paint has fully cured.
What Good Wall Patching Actually Requires
A wall patch is successful when the repaired area sits flush with the surrounding surface, has the same texture, and accepts primer and paint at the same rate as the existing wall. Achieving that result requires more than filling a hole and sanding it once.
The size and cause of the damage guide the repair. A small nail hole, for example, can often be filled and sanded with minimal buildup. A larger anchor hole may need to be cleaned out, reinforced, and filled in controlled layers. A dented corner, damaged drywall seam, or crack that follows framing movement requires a different approach again.
The most common failure is applying too much compound in one pass. Thick filler shrinks as it dries and can leave a shallow depression or visible edge. Experienced painters build the repair in thin coats, allowing each coat to dry properly before sanding and widening the feathered edge. The goal is not simply to fill the damaged spot. It is to blend the repair into a larger area so the wall remains visually flat.
Wall Patching Begins With Diagnosing the Damage
Before any compound is applied, the damaged area should be assessed for movement, moisture, or loose material. Filling over a problem without addressing its cause may look acceptable for a short period, but the repair can crack, bubble, or stain through the new paint later.
Hairline cracks near doors, windows, and ceiling lines are often related to normal seasonal movement. In older homes, some movement is expected, particularly where different materials meet. A flexible crack treatment and careful taping approach may be appropriate, depending on the location and width of the crack.
A brown stain, soft drywall, or recurring blistering calls for a different response. Those signs can point to an active or previous water issue. The source of moisture must be corrected and the affected material allowed to dry or be replaced before painting begins. Primer can block many old stains, but it cannot solve active moisture behind the wall.
Loose tape at a drywall joint also deserves more than a cosmetic skim coat. If the tape has released, the failed section must be cut back, re-taped, and feathered properly. Covering loose tape with compound can create a temporary improvement, but the joint remains unstable underneath.
The Right Process for a Paint-Ready Repair
Meticulous prep follows a sequence. Skipping a stage usually creates more sanding, more mess, or a repair that becomes visible after the first coat of paint.
First, the damaged area is cleaned and any loose paper, cracked compound, failed tape, or unstable drywall is removed. For holes larger than a small fastener mark, the opening may need backing or a fitted drywall patch so the repair has a stable base. A patch that flexes will eventually show through the finish.
Next comes the first fill or bedding coat. This coat establishes the repair but should not be expected to create the final profile. Once dry, it is sanded only as needed to remove ridges and prepare for the next coat. Aggressive sanding at this stage can damage the drywall face paper and create another issue to correct.
Subsequent coats are applied wider than the one before. This feathering is what prevents a repaired area from forming a raised island on the wall. A broad knife helps create a gradual transition that the eye will not catch under side lighting.
After final sanding, the surface should be checked by touch and with a work light directed across the wall. Looking directly at a repair often hides flaws. Raking light exposes ridges, pinholes, shallow dips, and edges that will become more noticeable after paint is applied. Dust must then be removed completely. Fine drywall dust left on the surface can interfere with adhesion and leave a gritty finish.
Why Paint Often Reveals a Poor Patch
Paint adds color, but it also changes how the surface reflects light. A patch may look acceptable when it is bare, then appear as a dull, raised, or differently textured area after paint goes on. This is especially common with eggshell and satin finishes, which reflect more light than flat paint.
Differences in porosity are part of the issue. Fresh joint compound absorbs paint differently than previously painted drywall. Without primer, the repaired area may flash - meaning it has a noticeably different sheen or color depth from the surrounding wall. Even premium paint cannot reliably hide an unprimed repair.
The paint finish also affects how much correction is required. Flat paint is more forgiving, but it is not a substitute for proper wall preparation. Eggshell, satin, and semi-gloss finishes demand increasingly precise patching because they reveal even slight surface irregularities. In high-visibility spaces such as foyers, kitchens, stairwells, and primary bedrooms, the standard should be set accordingly.
Matching Texture Is Part of Wall Patching
A flat wall is not always a smooth wall. Many homes have subtle roller texture, orange peel, hand-applied texture, or previous paint buildup that must be considered before a repair is finished. A perfectly smooth patch placed in a lightly textured wall can be just as visible as a poorly sanded one.
Texture matching takes judgment. A light roller pass may blend a minor repair, while a larger patch may need a more deliberate texture application before priming. The repair should be assessed after it dries, because wet compound and fresh texture can look different from the finished surface.
Ceilings require particular care. Their angle to light makes patches visible from across the room, and their texture can be difficult to reproduce. Where a ceiling has widespread cracking, staining, or uneven previous repairs, spot patching may not provide the most consistent result. A broader skim coat or a planned ceiling repaint can be the better long-term choice.
Primer and Paint Complete the Repair
Primer is the bridge between wall patching and a uniform painted finish. Spot-priming repaired areas seals the compound, equalizes absorption, and allows the finish coat to develop a consistent sheen. On walls with extensive repairs, a full prime coat may be more efficient and more reliable than spot-priming multiple areas.
The final paint application should be planned around the condition of the wall, not simply around the color selection. A full-wall repaint usually produces the cleanest result after repairs because it eliminates the risk of visible touch-up boundaries. Touch-up painting can work on some flat finishes, but it depends on the age of the existing paint, the original application method, and whether the exact product and color are still available.
For a premium interior repaint, Whitmore Painting treats repair work as part of the finish system. The same attention given to hand-cut lines and clean application should be applied to the wall beneath the paint. A polished result starts before the first finish coat is opened.
When a Professional Repair Is Worth It
Small picture-hook holes are reasonable homeowner repairs when the goal is simply to tidy a wall before moving furniture or hanging new artwork. Larger damage, recurring cracks, ceiling repairs, water staining, and patches in strongly lit areas are usually better handled by an experienced painting crew.
Professional wall repair is particularly worthwhile when the room has a dark color, a sheen finish, large windows, or detailed millwork that sets a high visual standard. It is also useful when the work needs to stay contained. Proper dust control, organized sanding, surface protection, and scheduled drying time make a meaningful difference in an occupied home.
The trade-off is straightforward: a quick patch costs less initially, but a visible repair can undermine an otherwise expensive repaint. Correcting it after the room is painted often means returning to the same area, re-sanding, re-priming, and repainting an entire wall.
A wall should feel quiet once the painting is complete. If daylight, lamps, or a close look at the surface keeps drawing attention back to a repair, the patch was never truly finished. Allow enough time for careful prep, inspection, primer, and full-wall coating where needed. That is how repaired walls become part of the room again, rather than the first thing anyone sees.