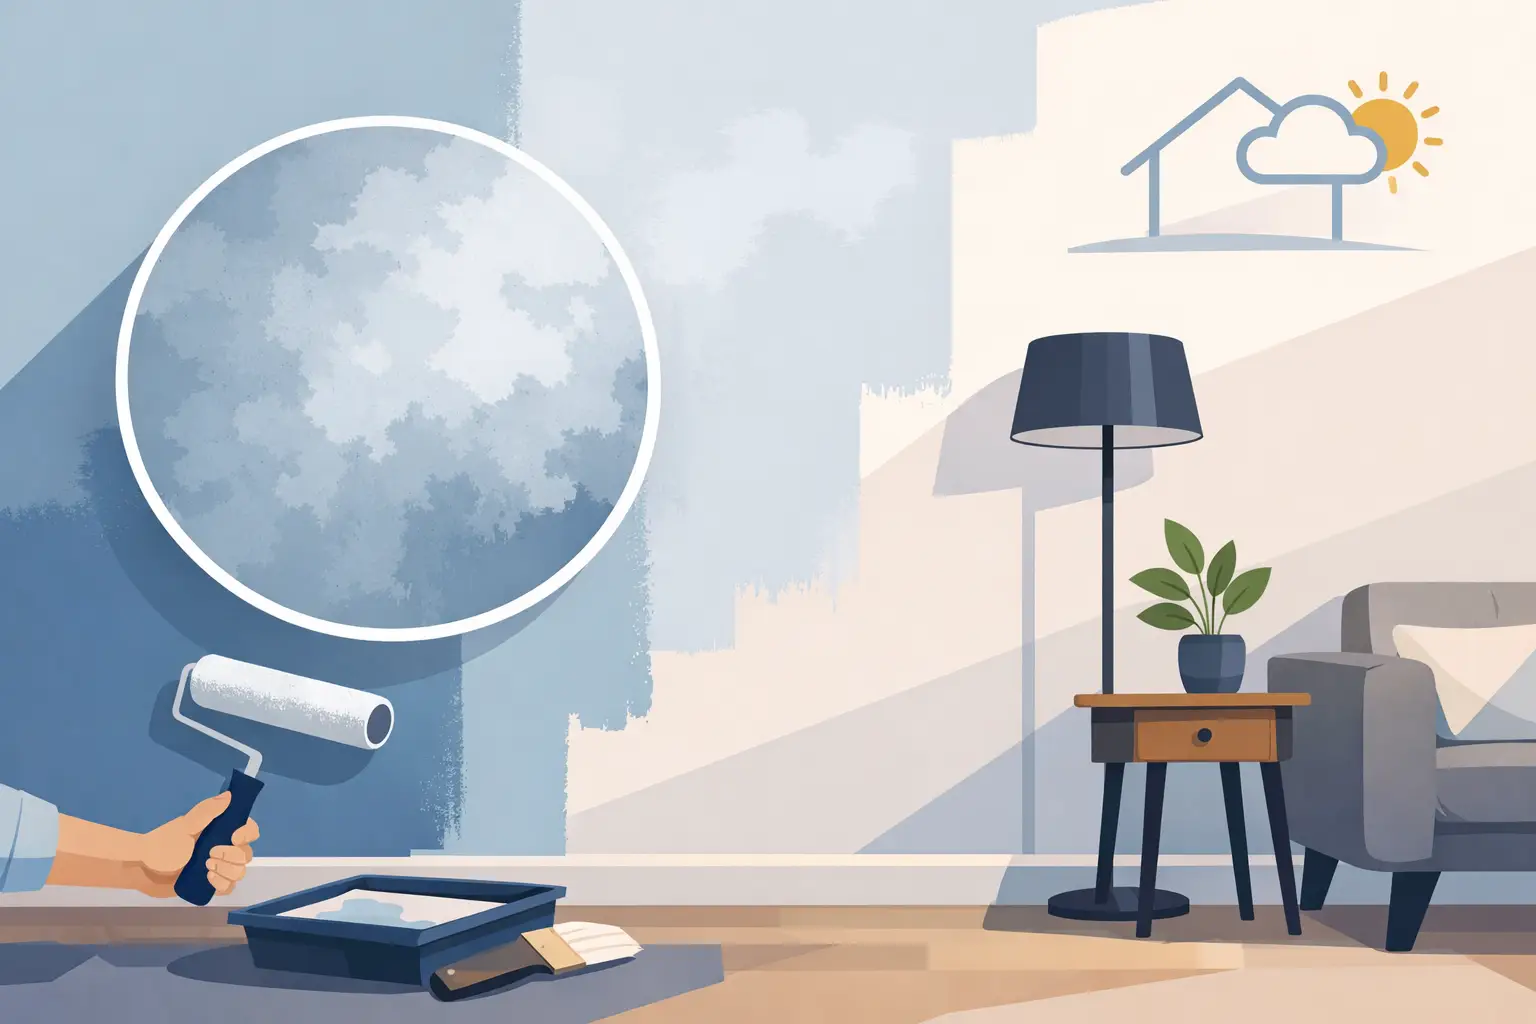
A wall can look uniform while the crew is packing up, then reveal dull patches, shiny bands, or visible repair areas once daylight moves across the room. This is paint flashing. It is one of the most frustrating finish issues because the color may be correct, the paint may be fresh, and the wall can still read as uneven.
For homeowners investing in a high-end repaint, flashing is not a minor cosmetic detail. Light from large windows, recessed fixtures, and pendant lighting can make a compromised wall look unfinished. The cause is rarely mysterious, but a lasting correction requires more than applying another quick touch-up.
What Is Paint Flashing?
Paint flashing is a difference in sheen or surface appearance within the same painted area. It can appear as darker or lighter patches, glossier repair spots, roller bands, or uneven sections that become visible only at certain angles. The effect is especially common on walls painted in flat, matte, eggshell, satin, and semi-gloss finishes, although each sheen reveals it differently.
Flashing is often confused with color variation. In some cases, the color is genuinely inconsistent because different batches were used or the paint was not mixed thoroughly. More often, however, the color is the same and the wall is reflecting light differently. One area has absorbed more paint, dried at a different rate, or received a different film build than the area beside it.
A professional assessment starts by viewing the surface in the light that exposes the concern. A wall that looks acceptable under broad ambient light may show obvious flashing in late-afternoon sun or beneath directional LED fixtures. That distinction matters because the appropriate repair depends on whether the issue is sheen, coverage, substrate porosity, or actual color mismatch.
Why Paint Flashing Happens
The most common source of paint flashing is spot repair. Fresh drywall compound, joint compound, spackle, and porous patches absorb paint differently than the existing wall surface. If those repairs are painted without proper priming, they can leave visible dull or shiny areas even after two finish coats.
Touch-ups are another frequent cause. Paint applied with a brush or small roller has a different texture and film thickness from paint applied to the full wall with a larger roller. Even when the same can of paint is used, a touched-up section may reflect light differently. This is particularly noticeable on broad, uninterrupted walls in living rooms, stair halls, and primary bedrooms.
Application conditions also matter. Paint that is rolled too thin may not cover consistently. Paint applied too heavily can create heavier bands or lap marks. When one section begins to dry before the adjacent section is rolled, the overlap may remain visible. This is why maintaining a wet edge is a core part of quality wall painting, not an optional technique.
Substrate condition can add another layer. Walls with old repairs, smoke staining, water marks, adhesive residue, or areas of varying texture may require more targeted preparation before finish paint is applied. Simply increasing the number of finish coats does not always solve the problem. If the surface is uneven in absorption or texture, the new coats can continue to telegraph the variation.
Finally, product selection plays a role. Lower-quality paints tend to have less forgiving sheen uniformity and poorer hide. That does not mean premium paint prevents every issue. Even the best coating will flash if it is applied over unprimed repairs, poorly sanded patches, or an inconsistent surface. Material and method need to work together.
The Difference Between Flashing, Lap Marks, and Poor Coverage
These terms are often used interchangeably, but they describe different problems.
Flashing is primarily a sheen difference. A patched area or touch-up may look more reflective or flatter than the surrounding wall. It often shifts in appearance as you move through the room.
Lap marks are visible overlap lines created when a painter rolls into paint that has already begun to dry. They may look like vertical or horizontal bands, especially near windows or on long walls. Fast-working crews, improper roller technique, excessive heat, and low humidity can all make lap marks more likely.
Poor coverage is different again. It appears as weak color depth, visible undertones, or a surface that looks thin rather than consistently finished. Deep colors, major color changes, and walls with repairs often need a properly specified primer and adequate finish coats to achieve full hide.
The repair can overlap, but the diagnosis should come first. Repainting a flashed touch-up without priming the repair may leave the same issue behind. Adding paint to a coverage problem without correcting roller technique can create a heavier, more uneven film.
How Professionals Prevent Paint Flashing
Prevention begins before the first finish coat. Meticulous prep is the control point. Repairs should be feathered wide enough that their edges disappear, then sanded smooth and checked under raking light. A patch that feels smooth to the hand can still show under paint if the surrounding texture or porosity has not been addressed.
Spot priming is necessary for small, isolated repairs, stains, and exposed drywall compound. On walls with extensive patching, a full prime coat may be the better decision. It creates a more uniform base, improves adhesion, and helps the finish coat dry consistently. The added step costs time, but it is usually less costly than returning to repaint a room after the fact.
Application method matters just as much. A trained painter maintains a wet edge, works from top to bottom, and lays off each section consistently. The roller nap is selected for the surface and finish, not simply based on what is available. The objective is an even film thickness and a consistent roller texture across the entire wall.
Ceilings, long hallways, and feature walls require particular planning. These surfaces often have fewer visual breaks, so any inconsistency becomes more apparent. A foreman-led crew will sequence the work around drying time, window exposure, access, and room conditions rather than treating every wall as a simple square-footage calculation.
Material handling also deserves attention. All paint for a large, continuous surface should be boxed together when practical. Boxing means combining multiple cans of the same color into one larger container to reduce small batch-to-batch variation. Paint must also be mixed thoroughly and used within the manufacturer’s recommended conditions.
Can You Fix Flashing Without Repainting the Whole Wall?
Sometimes, but not often. If the concern is limited to a very small repair and the surrounding paint is recent, a skilled technician may be able to blend the area using the same product, sheen, and application method. Even then, success depends on the wall color, lighting, texture, and age of the existing finish.
On most premium interior projects, repainting the full wall is the dependable repair. The wall should be assessed, repaired areas should be primed as needed, and a uniform finish coat should be applied corner to corner. Natural break points such as inside corners, trim returns, and door openings help contain the repair without leaving a visible transition.
For widespread flashing, the scope may extend beyond one wall. If the original issue came from inconsistent preparation, thin application, or an unsuitable product, isolated corrections can become a cycle of touch-ups. A controlled repaint of the affected surfaces is generally the cleaner solution.
When Lighting Makes a Good Wall Look Bad
Not every apparent imperfection is a paint failure. Strong side lighting can reveal minor texture variation in drywall, particularly on walls beside large windows, staircases, or linear LED lighting. Level-five drywall finishing and carefully controlled skim work can reduce those effects, but no painted wall is entirely immune to severe raking light.
That is why expectations should be set before work begins. A quality painting contractor inspects the substrate, identifies surfaces likely to show under directional light, and discusses the preparation standard required for the result the client expects. Paint can refine a wall substantially, but it cannot conceal every underlying construction irregularity.
The right response to paint flashing is measured rather than cosmetic. Identify the source, correct the surface and application issue, then repaint to a natural break. A properly prepared wall finished with disciplined technique should read consistently from the doorway, across the room, and through the changing light that makes a home feel lived in.