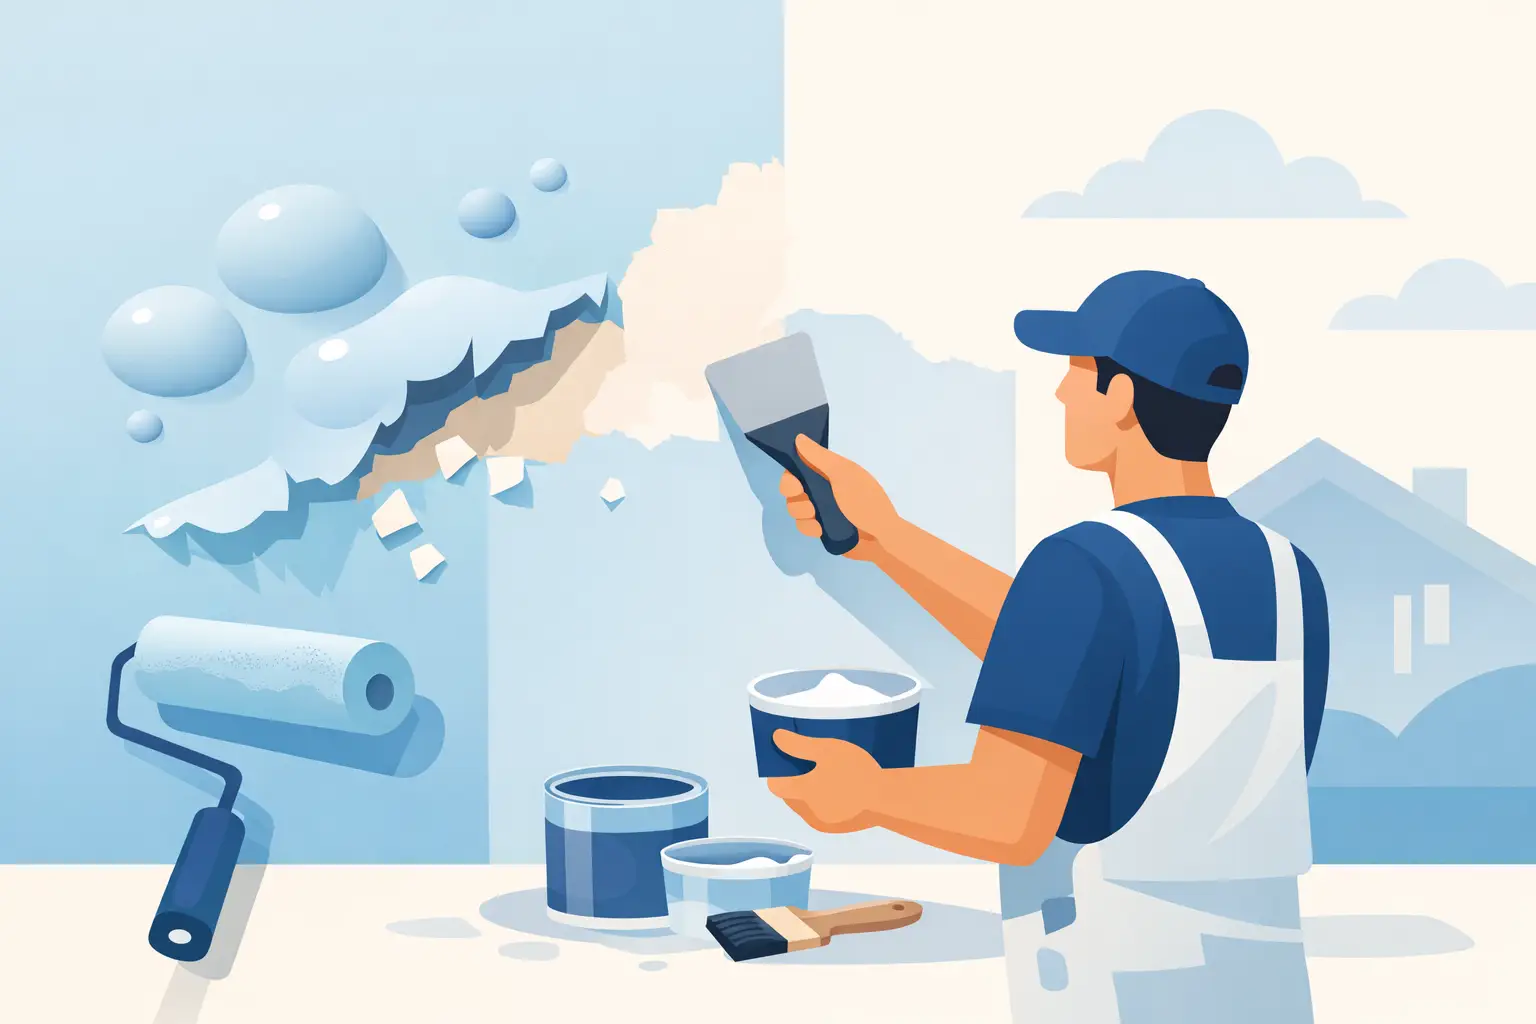
A bubble in a painted wall, ceiling, cabinet door, or exterior trim is not a cosmetic issue to paint over. It is a failure of adhesion. The paint film has released from the surface beneath it, and unless the reason for that release is identified, the same problem will return through the next coat.
For homeowners, paint bubbling causes are often traced to moisture, poor surface preparation, or application conditions that were not controlled. The visible blister is only the final symptom. A proper repair starts by determining whether the paint has separated from the substrate, from an earlier coat, or because moisture is pushing from behind the surface.
Paint Bubbling Causes: What the Bubble Is Telling You
Paint bubbles usually fall into two categories: blistering caused by heat or application conditions, and bubbling caused by moisture or adhesion failure. They can look similar at first, but the repair approach is different.
A small, shallow blister that appears shortly after painting may indicate the coating was applied too heavily, rolled too aggressively, or painted in direct heat. Paint can skin over before the material beneath has released moisture or solvent. As that material tries to escape, it lifts the surface film.
Larger bubbles, particularly those that feel soft or contain moisture, require more caution. They can point to a plumbing leak, condensation, water intrusion around windows, failed exterior caulking, or elevated moisture in a masonry surface. Scraping and repainting without resolving the source will only create a short-lived repair.
The location matters. Bubbling on a bathroom ceiling may be related to inadequate ventilation. Bubbling beside an exterior window can indicate flashing, caulking, or trim maintenance issues. Bubbles on drywall in a finished basement may be caused by humidity, foundation moisture, or a hidden leak. On cabinet doors, the cause is often contamination, inadequate sanding, or a coating system not suited to the existing finish.
Moisture Behind the Paint Film
Moisture is the most serious of the common paint bubbling causes because it affects both the finish and the material underneath. Water moves through drywall, wood, plaster, concrete, and joints around windows and doors. Once it reaches the back of a paint film, it can break the bond between the paint and substrate.
Interior water damage is not always dramatic. A slow plumbing leak behind a wall, a failed shower seal, or repeated condensation on a cold exterior wall can create enough moisture to lift paint over time. In these cases, paint may bubble, discolor, soften, or peel in sheets when scraped.
Exterior surfaces face a different set of conditions. Rain can enter unsealed end grain, open joints, failed caulk lines, and cracks in older trim. Wood siding or trim that has absorbed moisture should not be painted until it has dried to an acceptable level. Coating wet wood traps moisture and creates the conditions for blistering, peeling, and premature failure.
This is why meticulous prep includes more than scraping loose paint. The crew must identify whether the surface is dry, sound, and stable enough to accept a new coating. On a premium exterior project, that assessment should happen before finish work begins, not after defects appear.
How to distinguish moisture-related bubbling
Moisture-related failure often appears in localized areas rather than uniformly across an entire room. Look for bubbling near plumbing fixtures, windows, exterior walls, rooflines, or baseboards. Staining, mildew, soft drywall, swollen trim, and recurring bubbles after repainting are additional warning signs.
If there is any question about active water intrusion, pause the painting repair. The leak, condensation issue, or exterior entry point needs to be corrected first. Drying the area is equally important. A wall can look dry while still holding elevated moisture below the surface.
Poor Preparation and Surface Contamination
Paint adheres to a clean, dull, stable surface. When any of those conditions are missing, the new coating may release even if the paint itself is high quality.
Kitchen walls and cabinets are frequent problem areas. Airborne grease, cooking residue, furniture polish, hand oils, and silicone-based cleaners can remain on the surface even when it appears clean. Paint applied over contamination may initially look acceptable, then bubble or peel after the coating cures and is exposed to normal use.
Glossy or factory-finished surfaces require deliberate preparation. Cabinet painting, for example, depends on thorough cleaning, mechanical sanding or abrasion, appropriate bonding primer, and a compatible finish system. Skipping one stage can compromise the factory-smooth result homeowners expect.
Old paint layers can also be the weak point. If a previous coating was poorly bonded, the new paint may adhere to the old paint while the old paint releases from the wall. The bubble then exposes a deeper failure, not necessarily a problem with the newest coat. A careful scrape test helps determine how far back the unstable material extends.
Drywall repairs require the same discipline. Joint compound must be fully dry, sanded smooth, and primed before finish paint is applied. Unprimed repairs absorb paint unevenly and can create flashing, texture differences, and weak adhesion. Dust must be removed before coating as well. Fine sanding dust is enough to interfere with a clean bond.
Application Conditions That Create Blisters
Even excellent prep cannot compensate for poor application conditions. Paint has a specified temperature range, dry time, and recoat window. These are not minor technicalities. They determine how the coating forms a continuous, durable film.
Applying paint too thickly is a common cause of surface blistering. Heavy coats may look efficient in the moment, but they dry unevenly. The outer surface can set before the layer underneath has cured, trapping water or solvent vapor and producing bubbles. Two controlled coats generally perform better than one overloaded coat.
High heat and direct sunlight can create a similar problem on exterior work. A dark trim board in full sun may be far hotter than the air temperature. Paint applied to that surface can dry too quickly, reducing flow and adhesion. Wind, humidity, and overnight temperature drops also affect cure time.
Interior conditions matter as well. A room that is too cold, humid, or poorly ventilated can delay drying. Freshly painted bathrooms, laundry rooms, and basements need appropriate air movement and temperature control. Running a hot shower immediately after painting a bathroom ceiling is an easy way to stress a finish before it has fully cured.
Using incompatible products is another avoidable issue. Not every primer and topcoat are designed to work together, and not every coating is appropriate over oil-based paint, enamel, masonry, or previously coated cabinets. A professional painting system considers the existing surface, the required primer, and the finish coat as one sequence.
How to Repair Bubbling Paint Properly
The correct repair depends on the cause and the depth of failure. Minor application blisters on an otherwise dry, sound surface can often be repaired without extensive demolition. Moisture damage, however, may require work beyond painting.
Start by removing all loose paint. Do not stop at the visible edge of the bubble. Scrape until the remaining coating is firmly adhered, then feather-sand the perimeter so the repair does not leave a hard ridge. If the substrate is damaged, soft, stained, or mold-affected, it must be repaired and fully dried before paint is considered.
Once the surface is stable, clean it thoroughly. Use the right cleaner for the contamination present, especially on kitchens, cabinets, and high-touch trim. Sand glossy areas to create a mechanical profile, remove dust, and apply a primer suited to the substrate and repair. Stain-blocking primer may be required where water marks or tannins could bleed through.
Finish with thin, even coats applied within the manufacturer’s recommended conditions. Allow proper dry time between coats and protect the area from humidity, heat, and impact while it cures. The goal is not simply to make the bubble disappear. It is to restore a coating system that stays bonded.
When to bring in a professional
A localized bubble can be a manageable repair. Repeated bubbling, widespread peeling, exterior wood deterioration, cabinet coating failure, or suspected water intrusion needs a closer assessment. The trade-off is straightforward: a small investment in diagnosis and preparation is usually less costly than repainting the same surface again after another failure.
For Toronto and GTA homes, seasonal humidity, freeze-thaw exposure, older plaster, and varied renovation history can make surface conditions less predictable than they first appear. Whitmore Painting approaches these repairs by assessing the substrate before specifying the prep and coating system, rather than treating every bubble as a simple touch-up.
A painted surface should look quiet and consistent in every light, with no lifting edges, patchy repairs, or early signs of failure. When a bubble appears, treat it as useful evidence. Find the condition beneath it, correct that condition, and only then rebuild the finish.