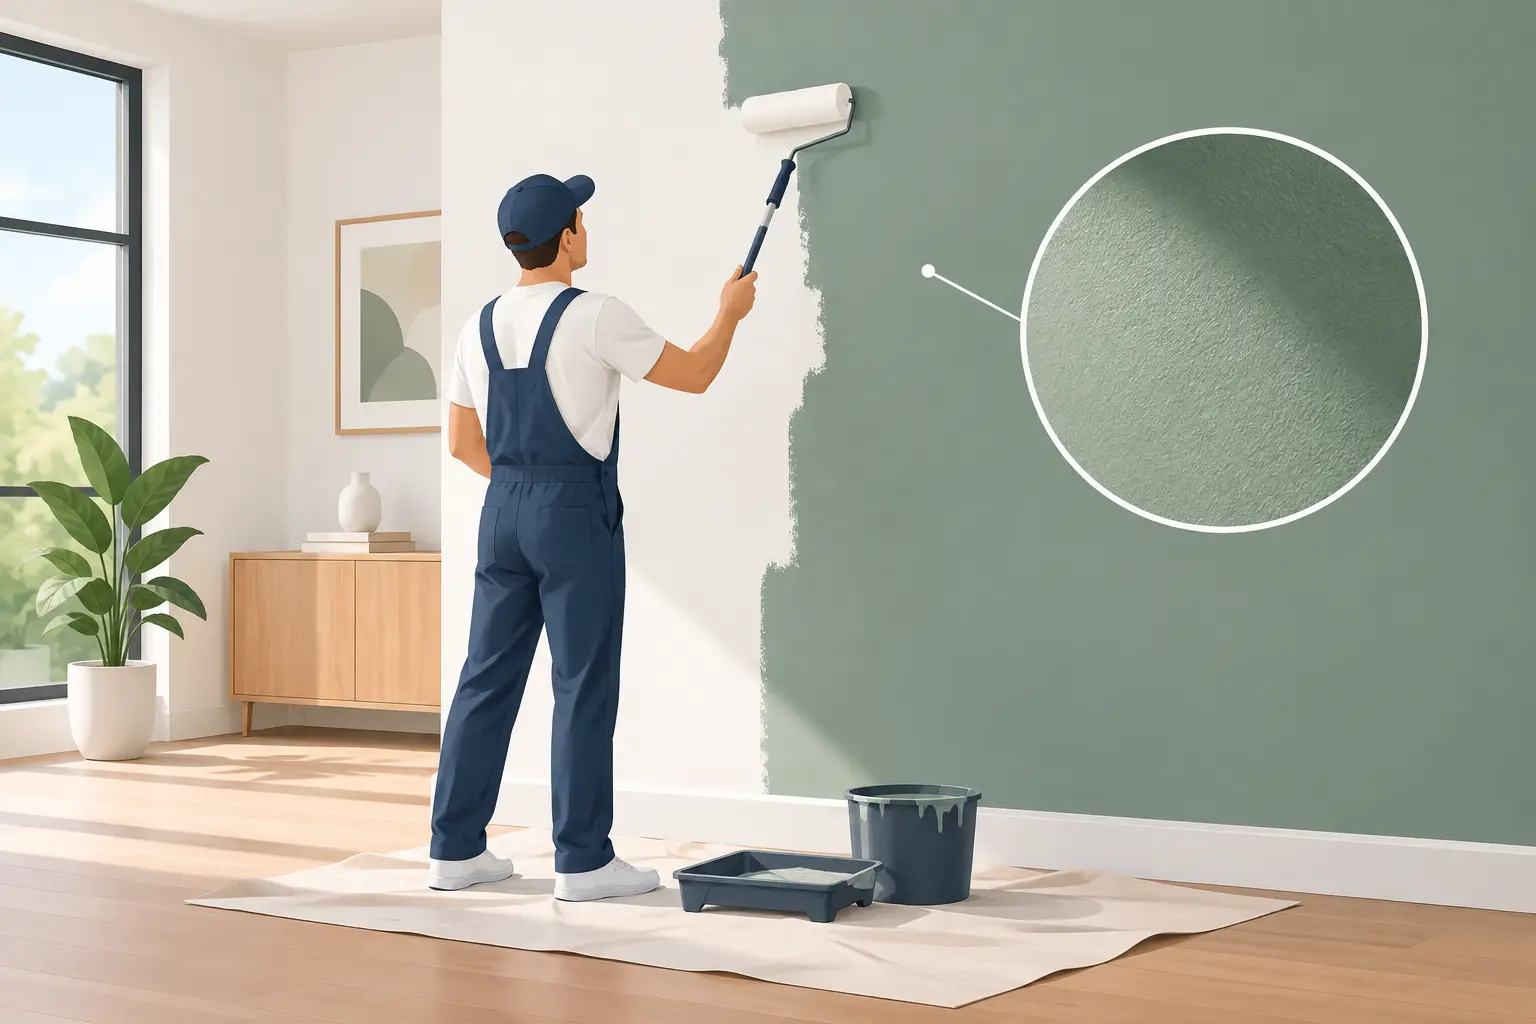
A newly painted room can look acceptable when the crew leaves and disappointing a week later. Afternoon light exposes lap marks. A hallway wall scuffs near the switch plate. The trim looks clean from across the room but shows brush drag at the door casing. Quality interior painting is not defined by how quickly paint reaches the wall. It is defined by the preparation, product selection, application control, and final review that make the finish hold up under close inspection.
For homeowners in Toronto and the GTA, the standard is often higher than a simple color change. A repaint may need to work around occupied rooms, expensive furnishings, detailed millwork, and shifting natural light. The contractor’s work has to be organized enough to protect the home while delivering a consistent finish from the first room to the last.
Interior Painting Starts Before the First Coat
Paint does not conceal every defect. In many cases, fresh paint makes existing flaws more visible, particularly on broad walls with low-angle daylight or on ceilings near large windows. Surface preparation determines whether the finished room looks refined or merely repainted.
A proper assessment starts with the substrate. Drywall cracks, nail pops, old patching, water stains, loose caulking, peeling coatings, and failed corner bead all need different treatment. A superficial patch may disappear temporarily, but movement or poor adhesion can bring the defect back through the new finish. Experienced painters identify what is cosmetic, what requires repair, and what needs further investigation before work proceeds.
Walls should be repaired, sanded smooth, dust-controlled, and spot-primed where required. Glossy trim and previously painted doors often need cleaning and scuff sanding to create adhesion for the new coating. Stains need the correct blocking primer, not an extra coat of finish paint. These steps take time, but they are what prevent flashing, peeling, uneven sheen, and visible repair areas.
Why Prep Standards Change by Room
Not every room asks for the same approach. Kitchens and bathrooms contend with moisture, grease, cleaning, and frequent contact. Hallways, stairwells, and mudrooms receive more abrasion than a formal dining room. Bedrooms may have fewer durability demands, but dark colors or strong daylight can make application inconsistencies far more apparent.
The condition of the existing surface matters as much as the room itself. A well-maintained wall with a sound previous coating may need modest repair and careful sanding. An older home with multiple paint generations, settlement cracks, and uneven drywall work needs a more involved prep plan. Treating both situations the same is how shortcuts become visible after the job is complete.
Lighting Should Guide Interior Painting Decisions
A paint color is not fixed. It changes with the direction of daylight, the time of day, surrounding materials, and the temperature of artificial fixtures. A soft white that feels balanced in a north-facing room may look warmer in a west-facing living area. A deep blue can read elegant in daylight and nearly black at night.
This is why small paper swatches are rarely enough for significant decisions. Sample colors should be applied in more than one location and viewed in morning, afternoon, and evening conditions. The sheen deserves the same consideration. Higher sheens reflect more light and offer stronger washability, but they also reveal more surface variation. A flat or matte wall finish can be forgiving on imperfect drywall, while a durable satin finish may be better suited to busy family areas.
Ceilings, walls, trim, doors, and built-ins should also be considered as a system. The right contrast can give a room definition. Too much contrast can make ceiling lines, trim joints, or wall imperfections more pronounced. In homes with detailed paneling or custom millwork, the coating specification should support the architecture rather than compete with it.
The Difference Is in Application Control
Even premium paint cannot compensate for inconsistent technique. A high-end finish requires the right tools, appropriate dry times, workable section sizes, and painters who understand how a coating behaves on the surface.
On walls, maintaining a wet edge helps prevent lap marks and uneven texture. Roller covers must match the surface and product, while brushwork at ceilings, casings, and baseboards must be deliberate. Hand-cut lines remain the standard where tape could pull existing paint, bleed at texture, or create an overly rigid edge. On trim and doors, the objective is controlled coverage with minimal brush drag, debris, or stipple.
Some surfaces benefit from spraying, particularly new doors, extensive trim packages, cabinets, or empty new-construction spaces. Spraying can produce a factory-smooth result when the surface is properly prepared and the surrounding area is fully masked and contained. In an occupied home, however, spraying is not automatically the best choice. It depends on access, ventilation, furnishings, adjacent finishes, and the level of containment required. Brushing and rolling may be the more practical method in a furnished room, provided the crew can still achieve the required finish standard.
Cleanliness Is Part of the Work
A professional painting project should not require the homeowner to accept unnecessary disruption. Floors, furniture, countertops, and fixtures need protection before prep begins. Dust from sanding should be controlled, not allowed to settle through the house. Materials should be organized, daily cleanup should be routine, and access routes should remain usable wherever possible.
This operational discipline matters most on multi-room projects. Clear sequencing allows rooms to be prepared, painted, dried, and returned to use in a logical order. It also helps homeowners plan around bedrooms, work-from-home spaces, children, and pets. A foreman-led project provides a clear point of accountability for the crew, schedule, finish standard, and communication as conditions change.
Product Selection Should Match the Surface
The best paint is not simply the most expensive can on the shelf. The product must suit the substrate, traffic level, sheen target, and desired appearance. Premium coatings are often worth the investment because they provide better coverage, more consistent sheen, stronger washability, and improved touch-up performance. But the complete coating system matters more than a label alone.
Primer, patch compound, caulk, finish paint, and application method need to work together. For example, a stain-blocking primer may be necessary beneath a light wall color after water damage or nicotine exposure. Cabinets require a different preparation and coating process than drywall. Existing oil-based trim may need specific bonding measures before a waterborne enamel is applied. These are not minor technical details. They determine whether the finish adheres and performs over time.
Homeowners should also be realistic about touch-ups. Flat wall paint generally blends more easily than higher-sheen finishes, but no coating makes poor repairs disappear. Keeping a labeled container of the final paint and recording the sheen, product line, and room location makes future maintenance more manageable.
What a Proper Final Review Looks Like
The final walkthrough should happen in usable light, with the room reasonably clear and the coatings fully dry. The purpose is not to search for imaginary flaws. It is to verify that the agreed scope has been completed to a consistent standard.
Review the wall planes from several angles. Check cut lines at ceilings and trim, coverage at corners, repaired areas, doors, baseboards, switch plates, and caulked joints. Look for missed spots, debris, drips, uneven sheen, or damage caused during the work. A disciplined contractor addresses legitimate deficiencies before considering the project complete.
For larger homes, custom renovations, and builder-led work, this review should be tied to the broader schedule. Painters often work around flooring installation, millwork, electrical trim-out, cabinetry, and final cleaning. Coordination protects the finish from avoidable damage and prevents the last stage of construction from becoming a cycle of rushed touch-ups.
Choosing a Painter for the Long Term
A low quote can be tempting, especially when a room appears straightforward. It may also omit the work that protects the result: repairs, sanding, primer, containment, careful cutting, sufficient coats, daily cleanup, and a final correction process. Comparing proposals only by price makes it difficult to see these differences.
Instead, ask how surfaces will be prepared, which areas will be protected, how repairs and change conditions are handled, what products are specified, and who supervises the work. Confirm insurance and workers’ compensation coverage, particularly for projects involving ladders, extensive ceilings, or coordination with other trades. A clear scope is a practical sign of a contractor who understands the work.
The most successful repaint projects begin with a standard, not just a color. When the prep is meticulous, the site is controlled, and each coat is applied with purpose, the room remains easy to live with long after the last drop cloth is removed.