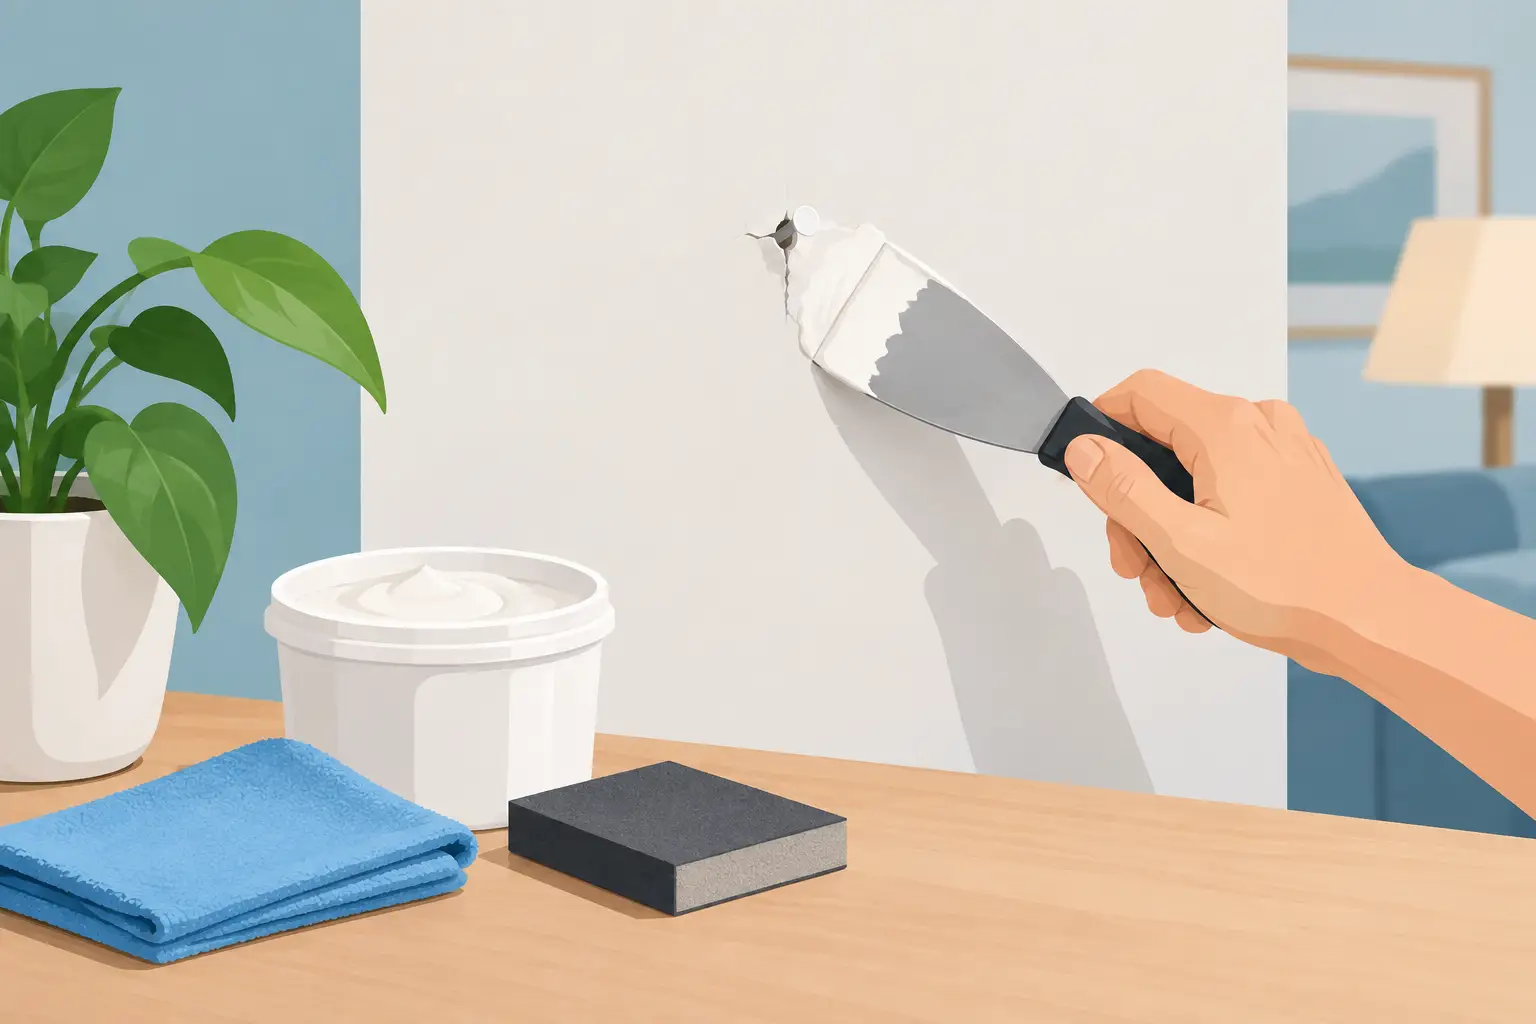
A nail pop is small, but it can make an otherwise refined wall look unfinished. To repair nail pops properly, the visible bump has to be treated as a drywall fastening issue first and a painting issue second. Simply covering it with spackle may improve the appearance briefly, but it does not address the movement that caused the fastener to lift.
For homeowners planning an interior repaint, nail pops are worth correcting before color goes on the wall. Premium paints and low-sheen finishes can make surface defects more noticeable, particularly where daylight or directional lighting runs across a ceiling or long hallway wall. The goal is not merely to hide the spot. It is to stabilize the drywall, restore a flat plane, and prepare the repair so it reads consistently with the surrounding finish.
Why Nail Pops Appear
Drywall is secured to framing with screws or nails, then finished with joint compound and paint. A nail pop occurs when a fastener shifts slightly outward and pushes against the finished surface. The result may be a small circular bump, a cracked ring in the paint film, or a fastener head that becomes visible beneath the coating.
Seasonal movement is a common contributor. Wood framing expands and contracts as indoor humidity and exterior conditions change, while drywall responds differently. Settling in a newer home can also create minor movement. In some cases, the original nail or screw was not seated correctly, the framing was damp when enclosed, or the drywall was not held tightly against the stud when it was fastened.
One isolated pop in an otherwise sound wall is usually a localized finish repair. A repeating line of pops, broad cracking at ceiling joints, or movement near doors and windows calls for a closer look. Those patterns can point to framing movement, truss uplift, moisture, or an installation issue that extends beyond one fastener.
Inspect Before You Repair Nail Pops
Start by looking closely at the surrounding surface. Press gently around the defect. If the drywall flexes, feels loose, or produces a hollow movement, it needs to be secured before compound is applied. Check for staining, soft drywall, or paint blistering as well. Moisture changes the scope of the repair and should be resolved before refinishing.
A single pop near the center of a wall is often straightforward. A cluster along the same stud line may indicate several fasteners have worked loose. On ceilings, especially below attic areas or beneath roof trusses, recurring cracks and pops may be seasonal rather than random. In that situation, a repair method that works with expected movement may be more appropriate than repeatedly filling the same crack.
It also matters whether the drywall is attached to wood or metal framing. Wood studs are typical in homes, but metal framing requires appropriate screws and a lighter touch to avoid stripping the stud. If you cannot identify the framing or locate the stud with confidence, this is a good point to bring in an experienced drywall or painting contractor.
The Correct Repair Method
The lasting repair is to secure the drywall to the framing on both sides of the popped fastener. This prevents the board from moving again and allows the surface finish to remain stable.
First, use a utility knife or the corner of a drywall knife to remove loose paint and fractured joint compound around the pop. Do not create a large crater. The objective is to expose a clean, stable edge for the repair material.
Next, locate the framing behind the drywall. If the pop is on a stud line, drive a drywall screw approximately 1 to 2 inches above the fastener and another 1 to 2 inches below it. The screw heads should sit just below the drywall face without tearing through the paper. That depth is critical. A proud screw head will telegraph through the finish, while a broken paper surface weakens the hold and creates more finishing work.
Once the board is secure, set the original nail or raised fastener slightly below the surface with a nail set or the handle of a drywall knife. Do not hammer aggressively. Excess force can fracture the drywall core or create a wider damaged area. In some repairs, removing the original nail is possible, but it is often unnecessary once the drywall has been properly secured with screws.
Before driving screws, be mindful of electrical wiring and plumbing. Fasteners should be short enough for the drywall thickness and should only be installed where the stud location is known. If there is any uncertainty around utilities, stop and have the area assessed.
Build the Repair in Thin Coats
After fastening, apply a first coat of setting-type joint compound or a quality premixed compound over the screw heads and original pop. A setting compound can be useful where a faster, harder initial fill is needed, but it must be mixed and applied with care. For many small residential repairs, standard all-purpose compound provides adequate working time and a smooth finish when allowed to dry fully.
Keep the first coat tight. Its job is to fill the recesses, not to create the final flat surface. Once dry, sand lightly to remove ridges and apply a wider second coat, feathering the edges several inches beyond the repair. The wider feather is what prevents a visible hump after painting.
A third skim coat is often needed on walls with strong side lighting, darker colors, or a low-sheen finish. Flat paint is forgiving of minor surface variation, but it is not a substitute for careful prep. Eggshell, satin, and many washable matte finishes can reveal a poorly feathered patch when light strikes across the wall.
Use a sanding block or pole sander with fine-grit paper and check the repair from several angles. Running a clean hand across the area is useful, but raking light is more revealing. Hold a work light close to the wall and direct it across the patch. Any edge, ridge, pinhole, or shallow depression will show before primer makes it harder to correct.
Prime the Repair Before Painting
Fresh joint compound is porous. If paint is applied directly over it, the repaired area can absorb binder differently than the painted wall around it, creating flashing or a dull patch. This is particularly noticeable on dark colors, ceilings, and walls with a subtle sheen.
Spot-prime the repair after sanding and dust removal. A dedicated drywall primer or a compatible interior primer will help equalize porosity and provide a uniform base for the finish coat. Once the primer is dry, inspect the area again. Primer often exposes small defects that were difficult to see on raw compound. Address them before applying the final paint.
For a single repair on a recently painted wall, touch-up may be possible, but it depends on the product, color, sheen, application method, and age of the existing paint. Even paint from the same can may not blend perfectly if the wall has faded, been cleaned unevenly, or developed a different surface texture over time. In rooms where visual consistency matters, repainting the full wall from corner to corner is usually the cleaner decision.
When a Nail Pop Needs More Than a Patch
A professional assessment is sensible when nail pops continue returning in the same location, appear in groups, or come with cracks wider than a hairline. The same applies if you see water staining, sagging drywall, bowed surfaces, or doors that have begun to bind nearby. Those conditions can indicate an issue that should be corrected before any finish work begins.
Ceiling repairs deserve particular attention. A ceiling is exposed to broad, even lighting, and a patch that looks acceptable from directly below can become obvious from an adjacent room or near a window. Achieving a clean result may require wider skim work, careful sanding, and repainting the entire ceiling plane rather than touching up one section.
For occupied homes, execution matters as much as the repair itself. Drywall sanding creates fine dust, and a controlled process should include floor protection, dust containment, careful cleanup, and a final inspection under practical lighting conditions. At Whitmore Painting, this level of prep is treated as part of the finish standard, not as an optional extra.
A Small Repair That Protects the Whole Finish
Nail pops are easy to underestimate because the visible defect is so small. Correcting the fastening, feathering the compound properly, and priming before paint takes more care than a quick patch, but it prevents the repair from becoming the one detail your eye returns to every time you enter the room. A finished wall should look quiet, flat, and intentional in both daylight and evening light.