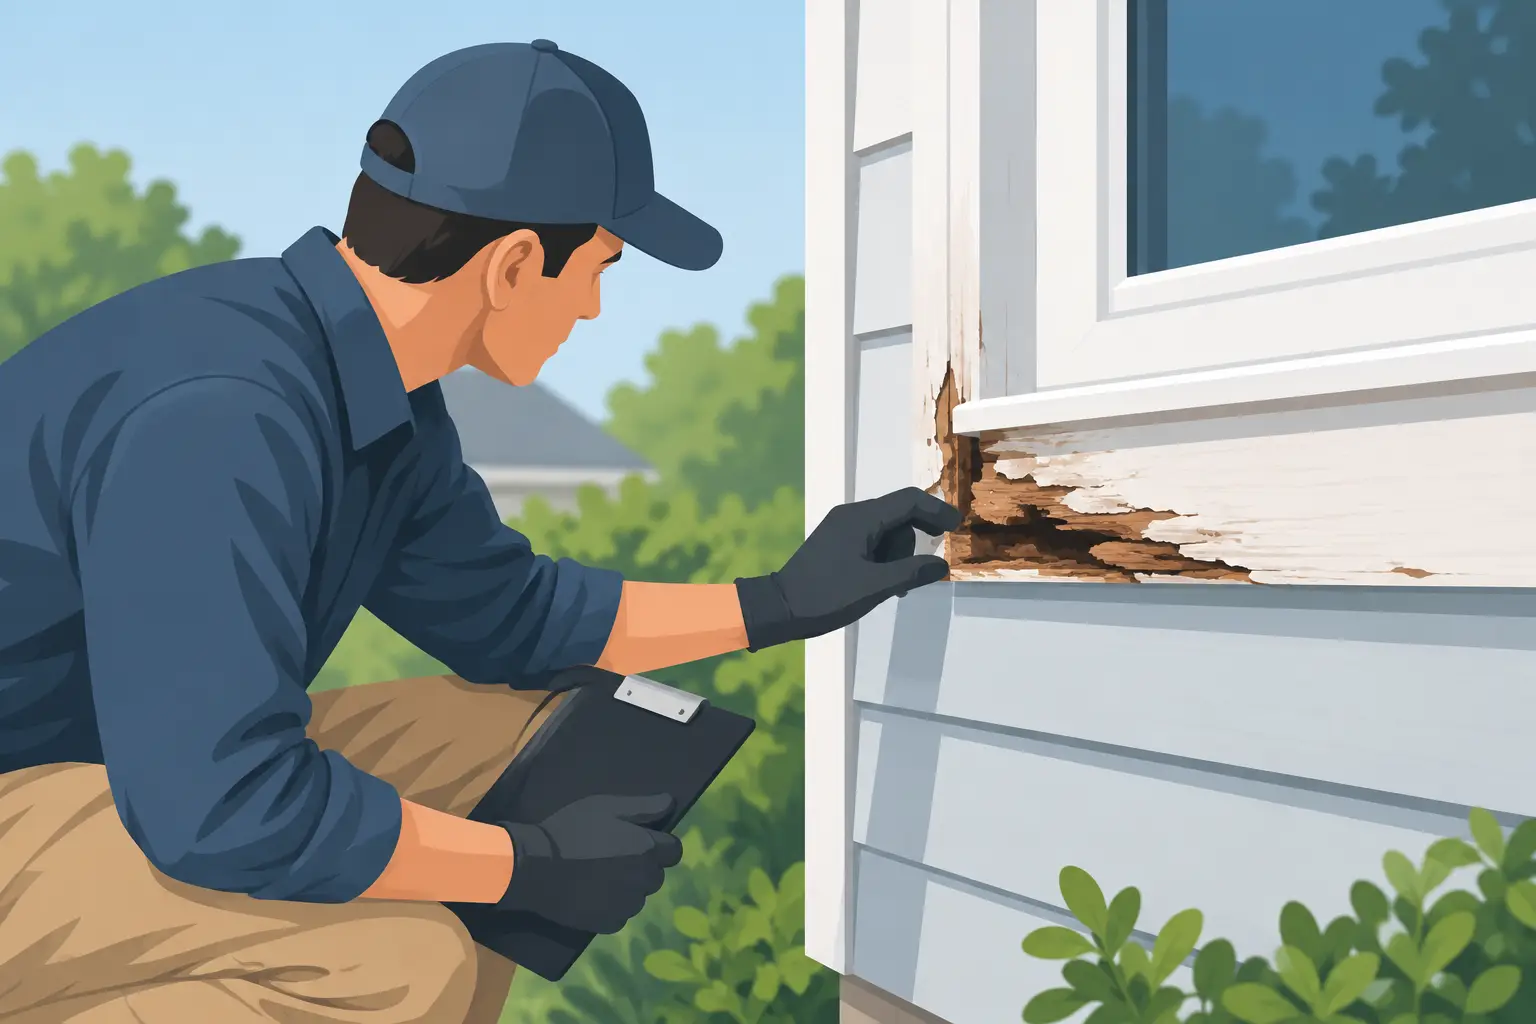
A fresh exterior coating can make a neglected facade look sound for a season. It cannot stop decay that is already moving behind a window casing, along a sill, or at the bottom edge of a porch column. To inspect exterior wood rot properly, look beyond peeling paint and identify the moisture path that allowed the wood to fail in the first place.
For a lasting paint job, this assessment belongs before color selection, pressure washing, or primer. Rot repair is not a cosmetic add-on. It is part of the substrate preparation that determines whether a finish performs as intended.
Why exterior wood rot needs attention before paint
Wood rot develops when wood stays wet long enough for fungi to break down its fibers. Exterior paint can slow moisture entry when it is maintained, but paint is not a structural repair material. Once boards become soft, split, or hollowed out, coating over them only conceals the problem temporarily.
The source is often straightforward: overflowing gutters, failed caulk joints, missing drip edges, grade that directs water toward the house, or slow drying around dense landscaping. The visible damage may be limited to one small area, while the moisture issue extends farther behind the trim or siding.
A disciplined inspection separates surface paint failure from material failure. Peeling paint may indicate that a board needs proper prep and a compatible coating system. Soft wood, deep checking, crumbling fibers, or persistent staining may mean a repair or replacement is required before painting can begin.
Where to inspect exterior wood rot first
Start at locations that see repeated wetting and slow drying. Walk the property slowly in daylight, viewing the exterior from several angles. Early morning or late afternoon light can reveal raised grain, uneven surfaces, and failed joints more clearly than flat midday light.
Pay particular attention to window sills and casings, especially bottom corners and horizontal ledges. Water can enter at open miters, failed sealant, or cracks in the paint film, then remain trapped where the casing meets siding or masonry. Door frames, garage trim, and the lower portions of decorative columns deserve the same attention.
Rooflines are another common trouble area. Inspect fascia, soffits, rake boards, and trim beneath gutters. A gutter that overflows even occasionally can saturate the same section of fascia over multiple seasons. Look below roof valleys as well, where concentrated runoff can overwhelm flashing or splash against wall surfaces.
At ground level, inspect porch framing, stair stringers, railings, skirt boards, fence posts, deck trim, and siding close to soil or planting beds. Wood that sits too near grade or remains covered by mulch cannot dry reliably. A premium finish will not compensate for poor clearance or ongoing contact with wet organic material.
How to inspect exterior wood rot without causing damage
Begin with a visual check, then use light pressure to test suspect areas. A putty knife, awl, or small screwdriver can help you probe discreetly at edges, seams, and end grain. Sound wood resists the tool. Decayed wood feels soft, spongy, or brittle, and the point may sink in with little effort.
Do not force a probe into intact material or make random holes across visible trim. The objective is to confirm what the surface is already suggesting, not to create unnecessary damage. Test beneath peeling paint, around fasteners, at open joints, and along lower board edges where water collects.
Look for paint that appears unusually thick or uneven in one isolated area. Previous patching may be entirely appropriate, but it can also signal a recurring issue below the surface. Raised grain, dark staining, cracked caulk, and paint that flakes in large sheets are further reasons to investigate.
A hollow sound when tapping a board can suggest voids or separation, although it is not proof of rot on its own. Compare the suspect section with an adjacent sound area. Exterior assemblies vary, and a reliable diagnosis considers several signs rather than one test.
Check joints, end grain, and horizontal surfaces
Most exterior water damage begins at a detail, not in the middle of a well-maintained board. End grain absorbs moisture readily, particularly where cuts were not sealed before installation. Open miters in trim, cracked joints in railings, and unprotected tops of columns are common entry points.
Horizontal surfaces require closer scrutiny because they hold water. Look at the top of window trim, railing caps, sill noses, and ledges beneath decorative details. If caulk has split away from the substrate, the joint may be admitting water behind the painted face.
Caulk is useful when it is installed in the right joint and maintained properly. It should not be used to bridge large voids, replace a missing flashing detail, or conceal a board that has lost structural integrity. Those shortcuts tend to fail as the wood moves and moisture continues behind the repair.
Trace the water source
Finding rot is only half the inspection. The next question is why that area stayed wet. Check gutters for debris and poor pitch, then observe where downspouts discharge. Look for roof runoff that lands on trim, irrigation that repeatedly wets walls, and plants that prevent air circulation.
Around windows and doors, examine the condition of head flashing and exterior sealant transitions. Around decks and porches, inspect ledger connections, post bases, and areas where wood meets concrete or masonry. The right repair may be modest, but it has to address both the damaged material and the condition causing it.
Deciding between repair and replacement
Minor, shallow deterioration in a stable board can sometimes be repaired after all loose material is removed and the area is allowed to dry. A professional-grade wood epoxy system may be suitable for small, nonstructural profiles where replacement would disturb adjacent finished work. The repair must be shaped accurately, fully cured, sanded, primed, and integrated into the surrounding coating system.
Replacement is generally the better decision when decay extends through the board, affects a long run of trim, reaches a joint or fastener location, or compromises a load-bearing component. Porch columns, guardrails, stair components, and structural framing should never be treated as cosmetic patching work. If there is uncertainty about framing or water management behind the finish, involve the appropriate qualified trade before painting proceeds.
Material selection matters when replacement is needed. Clear, properly primed wood may suit traditional profiles and certain restoration projects. Cellular PVC or composite trim can be a practical option at high-exposure locations, but it expands differently than wood and must be installed according to its requirements. The correct choice depends on the detail, surrounding materials, drainage conditions, and desired finish.
Prepare repaired areas for a finish that holds up
Once the cause of moisture has been corrected and unsound material has been repaired or replaced, the surface still needs meticulous prep. That means removing failed coatings, sanding transitions smooth, cleaning dust and contaminants, treating bare wood promptly, and using primer suited to the substrate and topcoat.
Bare end grain deserves particular care. It is often the first place a coating system fails when it has not been sealed thoroughly. Cut ends, exposed joints, and repaired profiles should receive complete coverage before finish coats are applied. Caulk should be installed only after the substrate is dry, stable, and properly primed where the system requires it.
Timing also matters. Painting wood that remains damp can trap moisture and shorten coating life. A reliable contractor checks weather conditions, surface dryness, and cure windows rather than treating the exterior as ready simply because rain has stopped. This is especially relevant after repair work, when new material, patch compounds, and primers each have their own preparation requirements.
When to bring in a professional
A homeowner can identify many early warning signs from the ground, but elevated trim, roofline components, and concealed water paths require a more thorough assessment. Ladder work introduces risk, and probing can reveal issues that extend beyond the painted surface. If rot is widespread, recurrent, or located near windows, roofs, decks, or structural elements, a coordinated inspection is the sensible next step.
At Whitmore Painting, exterior work begins with the condition of the surface, not the final color. Where repairs are needed, the scope should be clear before finishing work is scheduled so that the coating system is applied to stable, dry, properly prepared material.
A small soft spot is worth addressing while it is still a contained repair. Correct the water source, replace or restore the wood to a sound condition, and then paint it with the level of preparation the exterior requires. That sequence protects both the home and the finish placed on it.