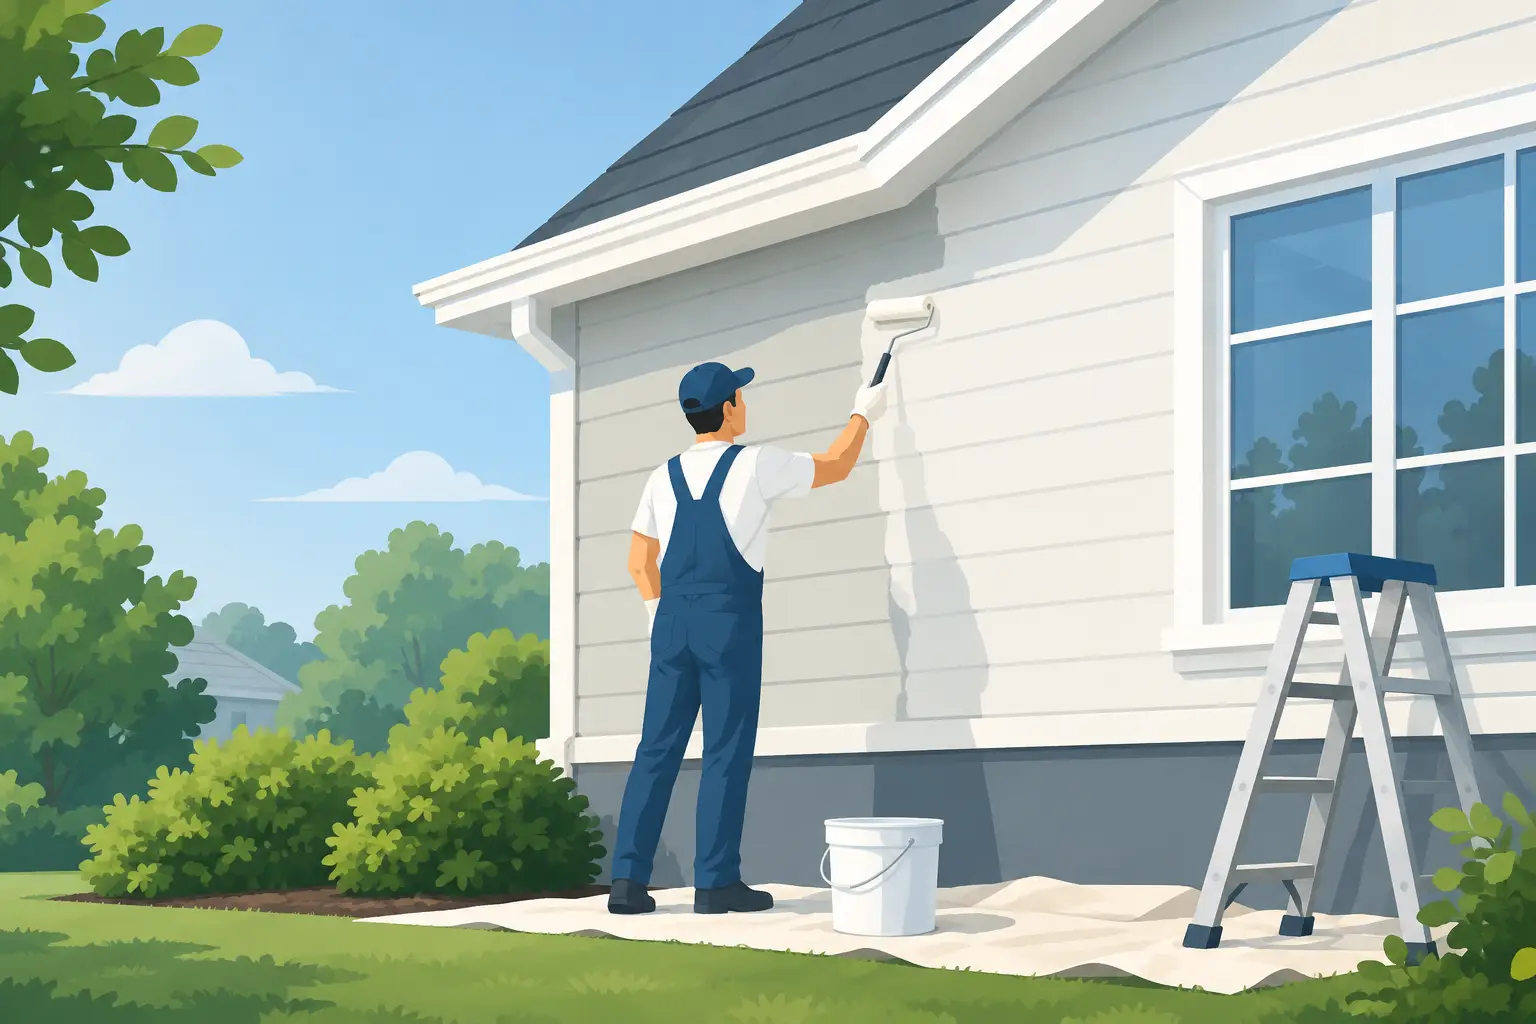
A painted exterior rarely fails all at once. It starts at the edges of trim, beneath a window sill, on a south-facing wall, or where water sits longer than it should. This guide to exterior paint maintenance is designed for homeowners who want to protect a well-finished property before small defects turn into widespread scraping, wood repair, and premature repainting.
In Toronto and the GTA, exterior coatings contend with freeze-thaw cycles, driving rain, strong summer sun, airborne dirt, and moisture trapped around detailed millwork. Premium paint helps, but paint is only one part of the system. Sound substrates, meticulous prep, proper drainage, and regular inspection determine how long the finish will hold.
Why Exterior Paint Maintenance Protects More Than Color
Exterior paint is a protective membrane. It limits moisture absorption, shields wood and trim from ultraviolet exposure, and gives masonry, siding, and architectural details a consistent appearance. When that membrane breaks down, water can work behind loose edges and into joints that may otherwise look minor from the ground.
The financial difference is significant. Cleaning a stained wall, replacing failed caulk, or touching up an isolated chip is controlled maintenance. Allowing peeling paint to expose wood through several wet seasons can lead to rot, substrate replacement, and a much more involved repaint. The goal is not to repaint constantly. It is to preserve the coating until repainting can be planned on the right schedule and completed under suitable conditions.
A home’s exposure matters. A protected brick facade with painted trim may age slowly, while a detached home with broad wood siding, dark colors, and limited roof overhangs needs closer attention. South- and west-facing elevations generally receive more UV exposure. North-facing areas may stay damp longer and develop mildew or algae. There is no single maintenance calendar that applies to every property.
A Seasonal Guide to Exterior Paint Maintenance
A disciplined inspection twice a year is usually enough for most well-maintained homes: once in spring, after winter has released its grip, and once in early fall, before colder, wetter weather arrives. Walk the property in daylight and look at each elevation from both a distance and close range. Bring binoculars if second-story trim cannot be safely viewed from the ground.
Spring: Look for Winter Damage
Spring is the right time to identify coating damage caused by snow, ice, shifting temperatures, and trapped moisture. Check window and door trim, fascia boards, porch ceilings, railings, exterior steps, and horizontal ledges first. These surfaces take more water than broad vertical walls.
Look for paint that is lifting at a seam, hairline cracks in caulk, rust marks around fasteners, swollen wood, or soft areas near joints. Peeling in a small, isolated area may be a localized adhesion issue. Peeling that repeats across an elevation can point to moisture, inadequate previous preparation, or an incompatible coating system. It should be diagnosed before new paint is applied.
Also inspect gutters and downspouts. Overflowing gutters can stain paint, saturate fascia, and send water behind trim. Painting around an unresolved drainage problem only conceals the source for a short time.
Summer: Wash Away Surface Contaminants
A gentle annual wash keeps a finish looking sharper and reduces the buildup that can hold moisture against the surface. Use a soft brush or sponge, mild detergent, and a garden hose. Work from the bottom upward when applying cleaner to reduce streaking, then rinse thoroughly from the top down.
Pressure washing requires restraint. High pressure can force water behind siding, damage caulk, scar soft wood, and strip sound paint from edges. It may be appropriate before a professional repaint where the operator can control pressure, tip selection, distance, and direction. It is not a routine shortcut for every homeowner.
Pay particular attention to shaded walls, soffits, porch ceilings, and the lower portions of siding where dirt and organic growth collect. If mildew is present, use an appropriate exterior cleaner and follow its instructions carefully. Do not paint over active mildew. The surface must be cleaned, rinsed, and allowed to dry completely.
Fall: Seal Small Openings Before Winter
Early fall is an effective time to address failed caulk and minor touch-ups, provided temperatures and humidity are within the paint manufacturer’s application range. Exterior sealant should remain flexible and adhere to clean, dry surfaces. A cracked bead is not always an emergency, but an open joint at a window casing or horizontal trim return gives water a direct path behind the finish.
Do not caulk every joint indiscriminately. Certain siding profiles and building components are designed to drain or move. Blocking intended drainage paths can create a larger moisture problem. Where there is uncertainty, have the condition assessed by a painter or building professional who understands the assembly.
Cut back vegetation that rubs against the house. Branches and climbing plants trap moisture, abrade the coating, and prevent surfaces from drying after rain. Keep soil, mulch, and planters clear of wood siding and trim as well. Paint cannot compensate for constant ground moisture at the base of a wall.
What to Watch for Between Inspections
Most exterior paint issues announce themselves early. The key is knowing which ones can wait and which ones need prompt attention.
Chalking is a fine, powdery residue that appears when a paint film weathers under ultraviolet exposure. Light chalking on an older finish can be normal. Heavy chalking, especially where it transfers readily to a hand or cloth, means the surface needs thorough cleaning and may be approaching repainting.
Cracking and flaking are different conditions. Fine surface cracking can occur as paint ages, while flaking indicates loss of adhesion. If bare wood or metal is visible, it should be protected quickly. Water entering exposed end grain or rusting metal can create damage beyond the paint layer.
Blistering deserves closer examination. A blister may result from moisture beneath the coating, heat exposure, or painting over a damp surface. Popping and repainting a blister without finding the cause can produce the same failure again. On older homes, repeated paint failure near a bathroom, kitchen, or roofline may be connected to ventilation or a hidden leak rather than exterior weather alone.
Fading is primarily an appearance issue, but it can affect a property’s visual consistency. Dark and saturated colors tend to show UV aging more readily than lighter, more reflective shades. When touch-up paint no longer blends because the surrounding finish has faded, a larger section or full elevation may be the cleaner solution.
Touch-Ups Need the Right Preparation
A touch-up is only successful when the surface is stable. Never brush new paint over loose edges, dirt, chalking, or failed caulk. Remove failed material, feather sand the transition, clean the area, prime bare substrate where required, and apply the compatible finish coat at the specified spread rate.
Keep clearly labeled leftover paint in a temperature-controlled location, not an unheated garage or shed. Record the product line, sheen, color formula, date, and location where it was used. Even then, spot repairs may show because paint ages differently across walls. Hand-cut lines at a natural break, such as a trim board or corner, often produce a more consistent result than a small patch in the middle of a broad surface.
If the original paint is several years old, test a touch-up in an inconspicuous area first. Sheen changes, weathering, and batch variation can all affect the match. This is especially relevant on smooth siding, front doors, and detailed trim where even minor differences catch the light.
When Maintenance Becomes a Repaint Project
Maintenance has limits. A repaint should be considered when widespread cracking, recurring peeling, extensive fading, exposed substrate, or failed caulk affects multiple areas. The same applies when wood repair, water management, or previous coating incompatibility must be addressed before a durable finish can be restored.
The quality of this work depends on preparation, not simply the number of coats applied. A proper scope may include washing, scraping, sanding, spot priming, substrate repair, caulk replacement, protection of landscaping and hardscapes, and carefully scheduled application around weather conditions. For detailed homes, hand-cut lines and controlled masking matter as much as coating selection.
Whitmore Painting approaches exterior work with that standard: foreman-led execution, meticulous prep, clean site practices, and finishes selected for the substrate and exposure. The objective is a finish that reads evenly in changing light and performs through the seasons, not a fast cosmetic reset.
A well-maintained exterior does not need constant attention. It needs observant attention. Walk the property after winter, keep water moving away from the building, clean surfaces without damaging them, and address small failures while they are still small. That discipline gives the next repaint a better surface to work from and helps the home retain the composed appearance it was designed to have.