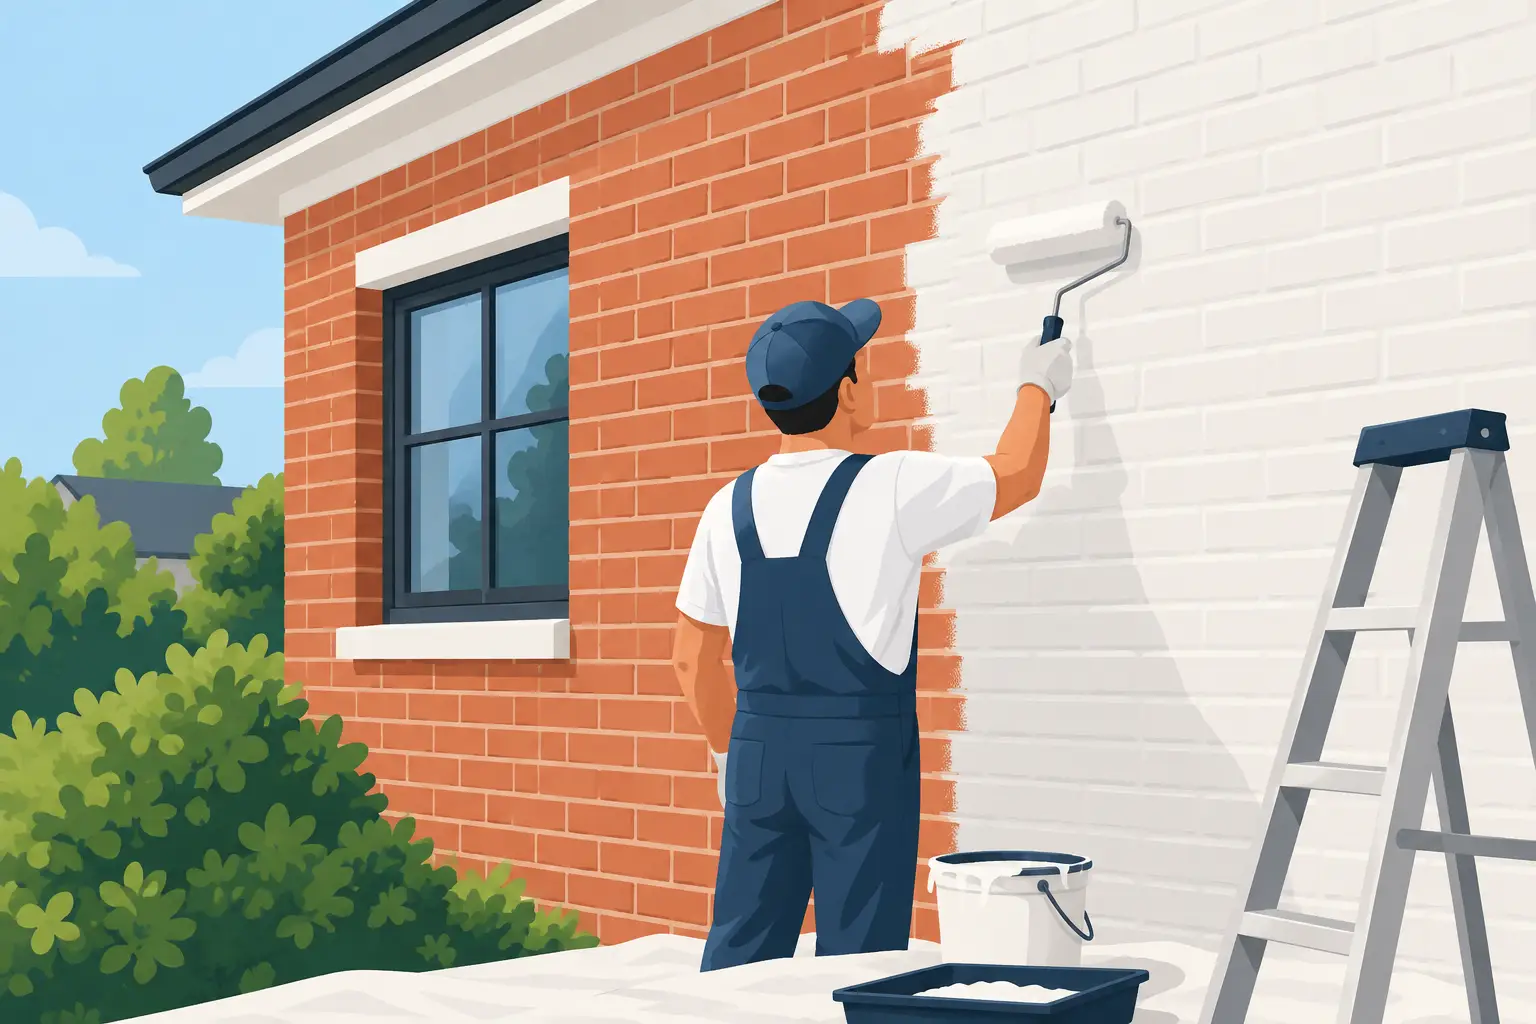
A painted brick exterior can give a dated home a more deliberate, unified appearance. It can also conceal a serious moisture problem, fail prematurely, and leave masonry looking worse than it did before. This guide to brick exterior painting starts with the decision that matters most: whether the brick is a sound candidate for paint at all.
Brick is not siding. It is a porous masonry system made up of brick, mortar joints, flashings, and drainage details that must manage moisture through every season. A quality finish depends less on the final color than on the condition of that system, the prep beneath the coating, and the discipline of the application.
Decide Whether Painting Brick Is Appropriate
Painting is generally appropriate for brick that is structurally sound, previously painted, visually inconsistent, or simply out of step with a home's architecture. It is often a strong choice on homes where additions, repairs, or replaced windows have left mismatched brickwork. A properly specified coating can create visual consistency while adding a measure of weather protection.
It is not the right answer for every façade. Soft, historic brick and deteriorated mortar may need conservation-focused repair rather than a film-forming finish. Brick with active efflorescence, persistent dampness, spalling faces, or failed flashing should not be painted until the underlying cause is corrected. Paint does not stop water entering through a roof detail, open mortar joint, foundation issue, or improperly sealed penetration. It can make future diagnosis more difficult.
A close inspection should identify loose or cracked mortar, crumbling brick faces, white mineral deposits, rust stains, mildew, and cracks at window heads or transitions. Check the lower courses carefully. Splashback, grade that sits too high, and blocked weep paths are common sources of recurring moisture issues.
If the wall has been painted before, adhesion testing is equally important. A new coating is only as reliable as the old coating below it. Areas that peel, chalk heavily, or release under tape require more than a cosmetic touch-up.
Repair and Clean Before Any Primer Is Applied
Meticulous prep is where durable exterior work is won or lost. The wall must be stable, clean, dry, and properly repaired before primer or finish paint is introduced.
Start with masonry repairs. Failed mortar should be removed and repointed with a compatible mortar, not simply covered with caulk or paint. Cracked or spalled bricks may need replacement. Hairline cracks can sometimes be filled with an appropriate masonry patching material, but wider or moving cracks call for investigation before repair. Around windows, doors, vents, and service penetrations, failed sealant should be removed and replaced with a high-quality exterior sealant suited to the joint.
Cleaning removes the contaminants that interfere with adhesion. The right method depends on the substrate and its condition. A controlled low-pressure wash, appropriate cleaner, and thorough rinse are often effective for general dirt and mildew. Aggressive pressure washing can damage old mortar, force water into the wall, and loosen compromised brick faces. It is not a substitute for preparation.
Efflorescence requires particular care. Those white, powdery deposits are salts carried to the surface by moisture. Brushing the salts away without identifying the water source is temporary at best. The wall must be allowed to dry fully after cleaning and repair. On a dense masonry wall or during a humid stretch of weather, that may take longer than expected.
Masking and protection also deserve attention. Brick painting involves overspray risk around windows, soffits, landscaping, stonework, and neighboring properties. A clean job site is not incidental to premium work. It is part of the operating standard.
Choose a Coating System That Lets Masonry Perform
The right paint system must adhere well, tolerate weather exposure, and allow the masonry to release vapor. This is why generic exterior paint decisions can be costly on brick.
For most sound residential brick, a breathable masonry primer paired with a premium exterior acrylic finish is a practical, serviceable system. The primer should be selected for the condition of the wall, including whether there is residual chalking, staining, or a transition between bare and previously painted surfaces. On older brick, vapor permeability deserves close attention. A coating that traps moisture can contribute to blistering, peeling, and freeze-thaw damage behind the paint film.
The sheen should be chosen for performance as well as appearance. Flat or low-luster masonry finishes tend to read more natural on textured brick and conceal minor surface variation. Higher sheens are easier to wipe but can exaggerate irregularities, repaired areas, and hand-applied lap marks. Trim, doors, and metal details can use a different coating system and sheen to create controlled contrast.
Color needs the same level of planning. Dark colors absorb more heat, which can increase stress on masonry and sealants exposed to direct sun. Deep charcoal or black can look sharp on a shaded façade but behave differently on a broad south-facing wall. Sample boards or test areas should be reviewed in full sun, shade, and evening light before the final selection is made. This is especially important when coordinating painted brick with roof color, window frames, stone, and landscape elements.
Apply Paint in the Right Weather Window
Exterior painting is schedule-sensitive work. Product labels provide minimum and maximum temperature ranges, but air temperature is only one part of the decision. Surface temperature, overnight lows, humidity, direct sun, rain risk, and drying time all affect the result.
A wall in direct afternoon sun may be substantially warmer than the reported air temperature. Paint applied to an overheated surface can dry too quickly, reducing flow and adhesion. Conversely, painting late in the day when temperatures will fall sharply can expose a fresh coating to dew before it has cured. In northern climates, spring and fall scheduling requires particular attention to overnight conditions and the length of the workable daytime window.
Application should be even, controlled, and built to the texture of the wall. Spraying can efficiently place material across a large masonry surface, but it should be followed by back-rolling or back-brushing where the coating system requires it. This works paint into pores, mortar joints, and surface variation while reducing the risk of thin spots. Cut lines at windows, soffits, and trim should be hand-cut cleanly rather than treated as an afterthought.
Two finish coats are commonly required for uniform coverage and long-term durability, particularly when changing from a dark or multicolored brick to a light color. Each coat needs adequate dry time. Rushing the recoat window may leave a surface that looks acceptable on completion day but develops adhesion problems later.
Detail the Edges, Openings, and Transitions
The most visible failures often begin at transitions, not in the middle of a wall. Window perimeters, sill edges, hose bibs, electrical boxes, light fixtures, masonry ledges, and the meeting point between brick and trim all need intentional preparation.
Paint should not bridge drainage gaps, block weep holes, or seal components that need to move independently. Caulk belongs in correctly sized, stable joints. It is not a filler for missing mortar or a way to erase every change in plane. Where brick meets wood, metal, or fiber-cement trim, each material may require a different primer, sealant, and finish product.
Careful detail work also improves visual consistency. Brick has depth and variation, so missed recesses can show as dark pinholes once the wall dries. At the same time, excessive build-up along edges can look heavy and artificial. The objective is a complete coating with a controlled, even read from the street and at close range.
Plan for Maintenance Before the First Coat
A painted brick exterior is maintainable, but it is not maintenance-free. Annual observation is the best protection against small issues becoming major repairs. Look for open sealant joints, impact damage, early peeling near grade, mildew on shaded elevations, and recurring white deposits. Address moisture-related concerns before repainting isolated failures.
Cleaning should be gentle. Avoid abrasive methods and high-pressure washing that can compromise paint edges or mortar. Most well-maintained exteriors benefit from occasional low-pressure rinsing and prompt removal of organic growth where shade and humidity allow it to develop.
Repaint timing depends on exposure, coating quality, wall condition, and the level of color change. South and west elevations often weather faster than protected sides of the home. A professional assessment can distinguish between localized maintenance and a full repaint, preventing unnecessary work while protecting the investment already made.
For homeowners who want the clean architectural effect of painted brick, the best result is not a fast color change. It is a carefully inspected masonry system, repaired before coating, finished in suitable weather, and maintained with the same level of care that went into the original work. That standard is what keeps the exterior looking considered long after the scaffolding and drop cloths are gone.